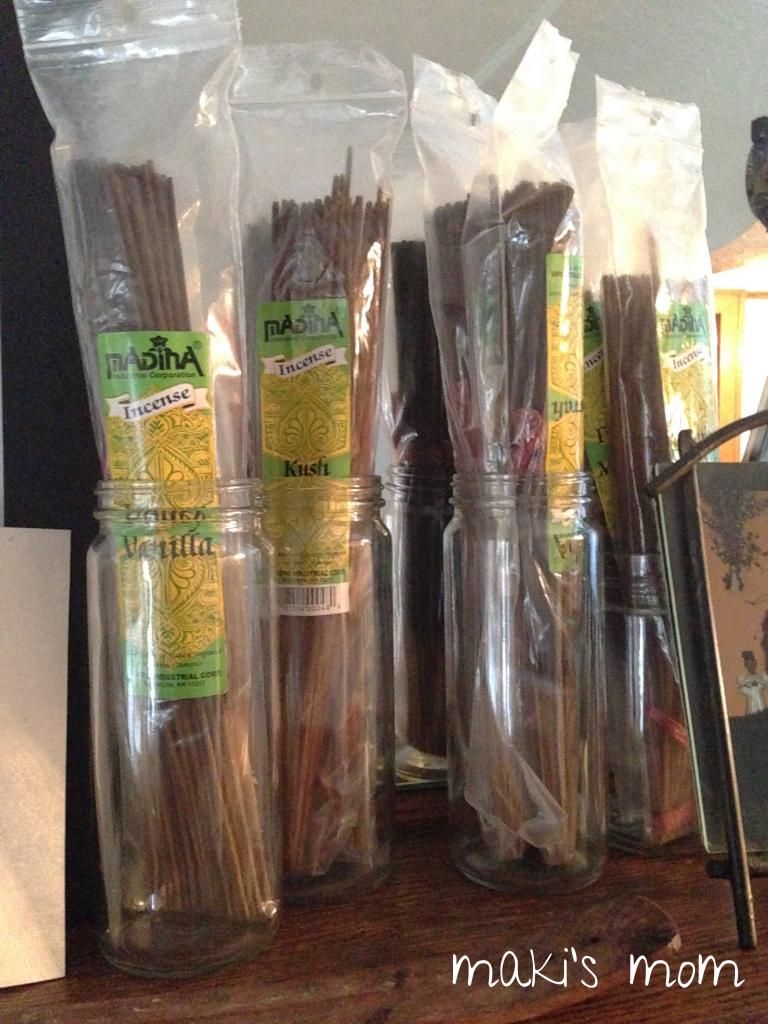
We were using empty jars to store our incense. I decided these naked jars could use some beautifying. Plus tackling this project allowed me to
For the first jar, I decided to cover it with scrapbook paper. This was simple enough as I'm pretty familiar with the technique from the coaster projects that I've done {here and here}.
First I cleaned the jar. {You can read about that here.}
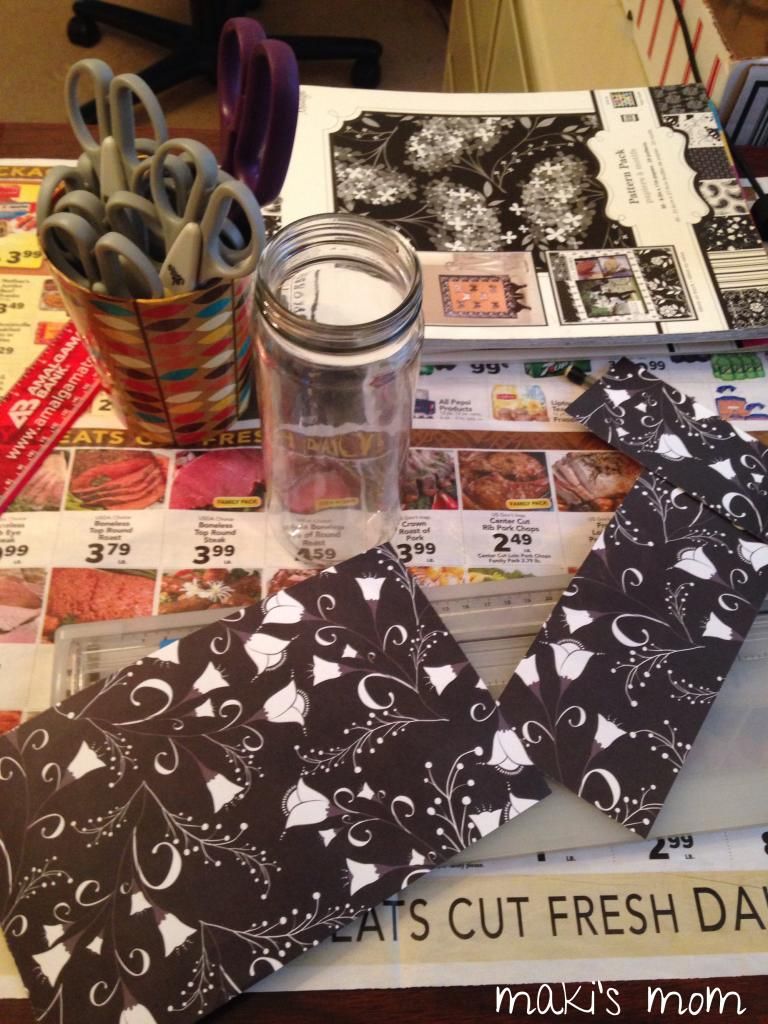
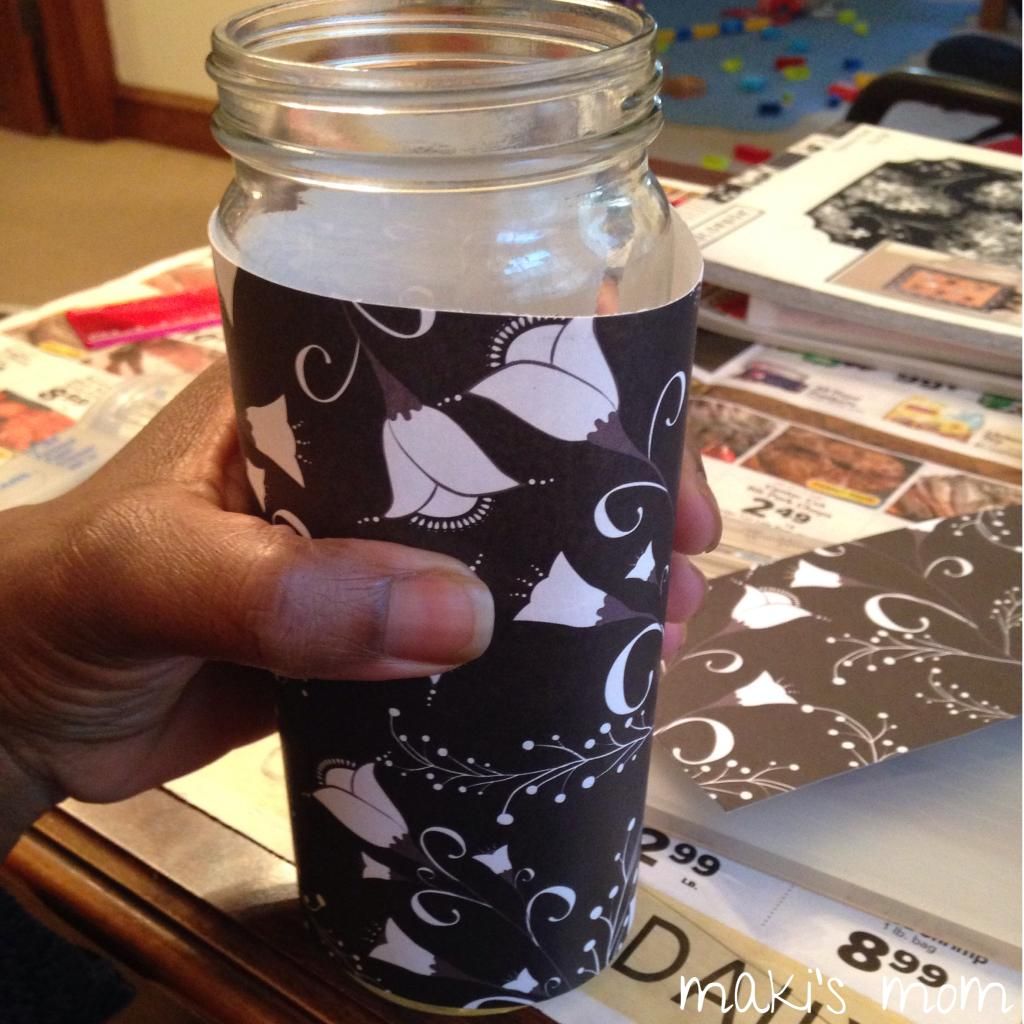
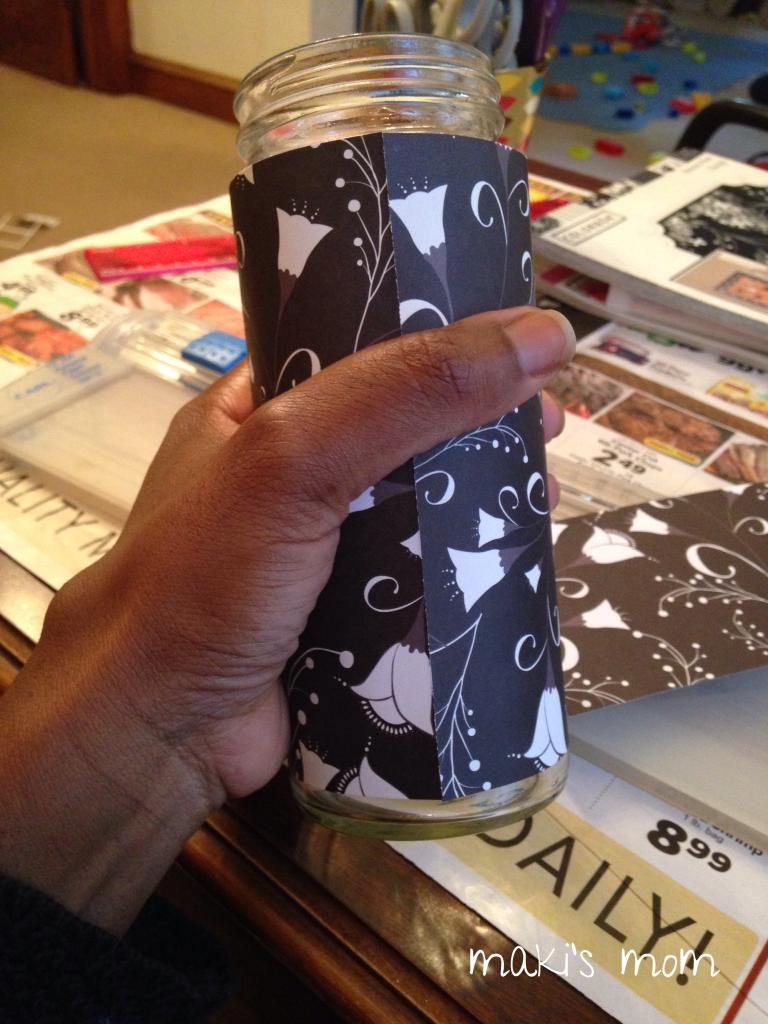
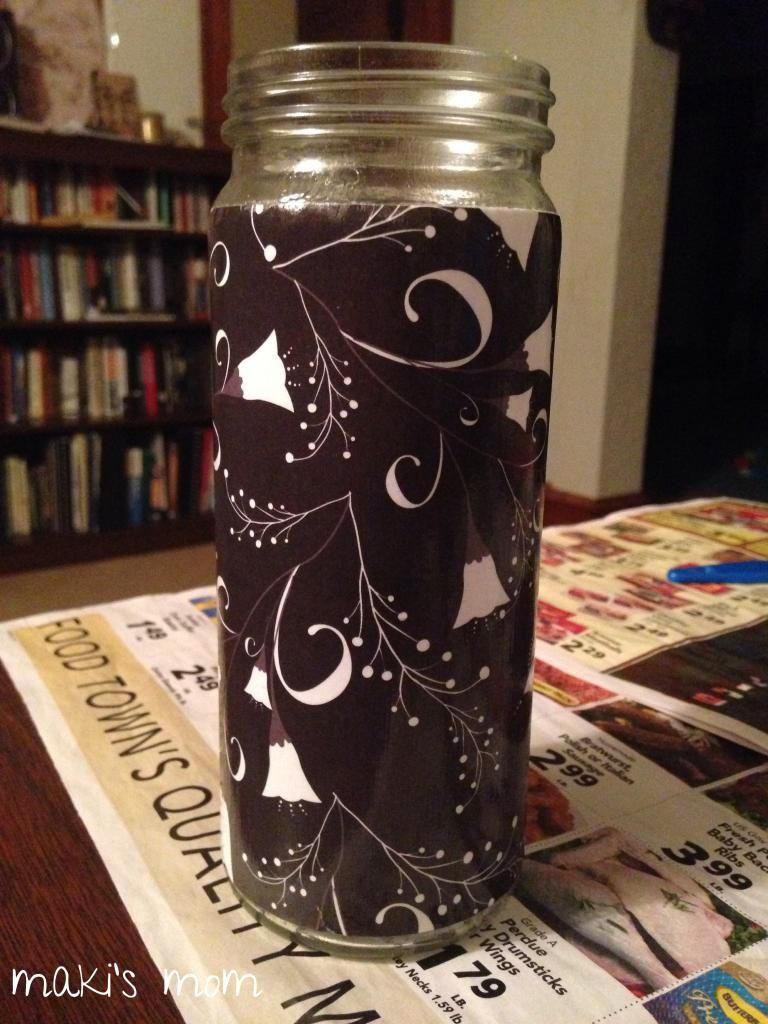
Next I measured and cut scrapbook paper to fit around the jar. I didn't want to go all the way up to the grooves because I didn't feel like dealing with wrinkles and bubbling as the jar indents. So I kept it simple and measured in order to wrap the flat part in between where the jar curves {I hope that's not too confusing. But the pictures should make sense.}
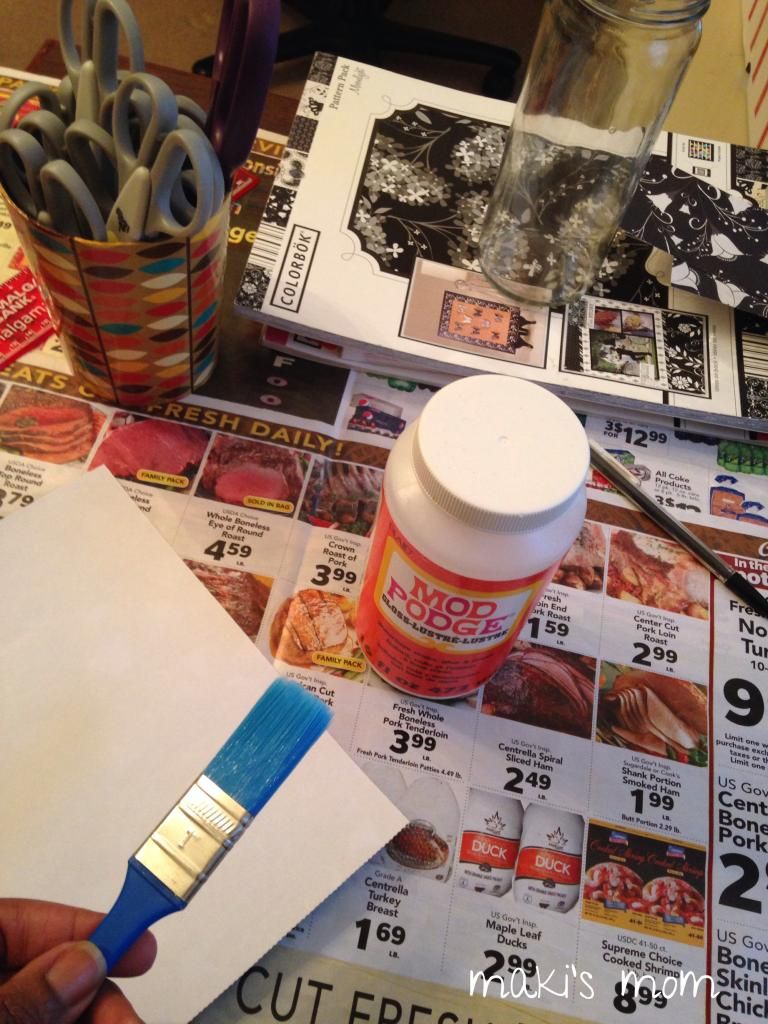
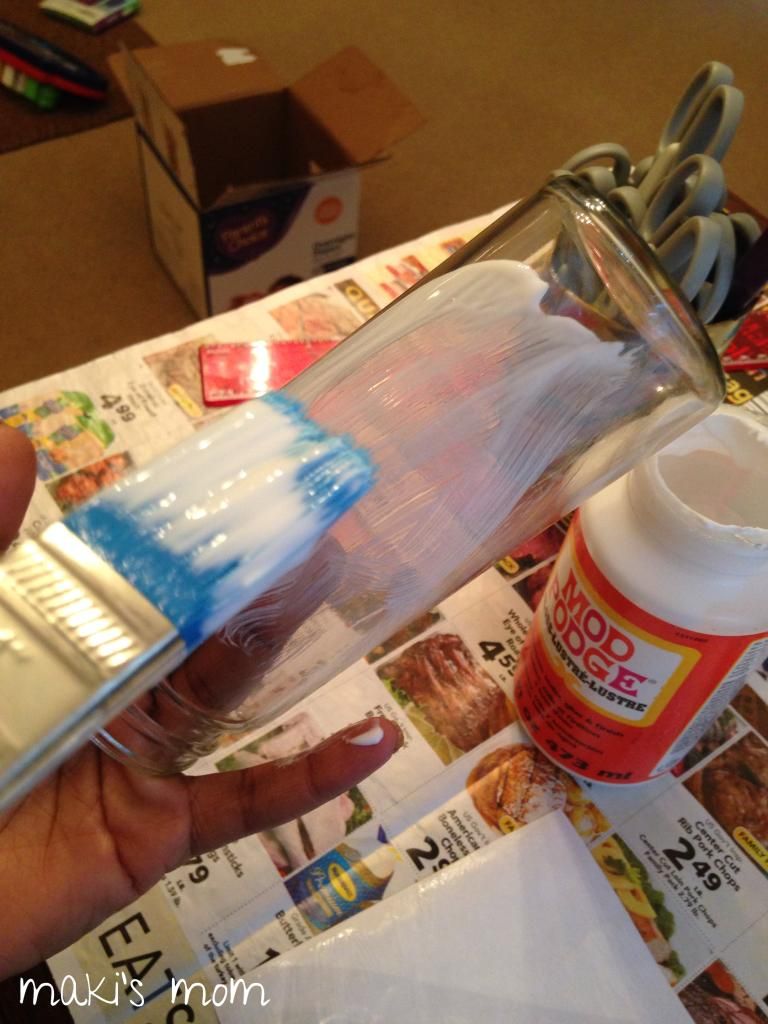
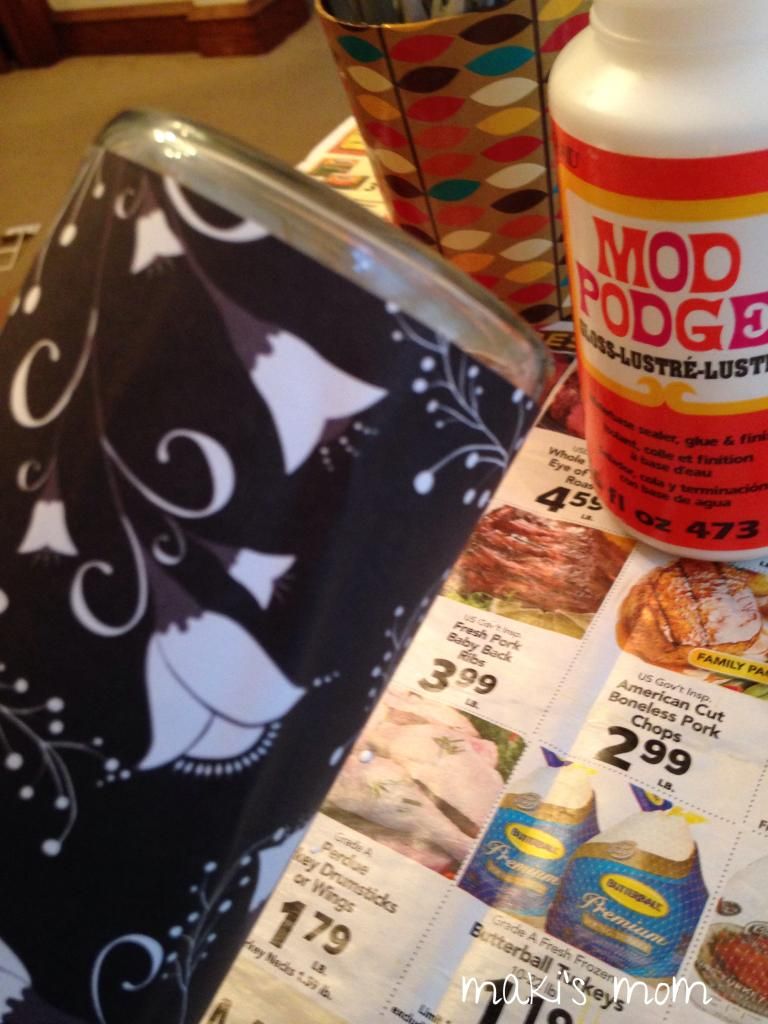
Next I applied a coat of Mod Podge to the back of the scrapbook paper and to the jar itself.
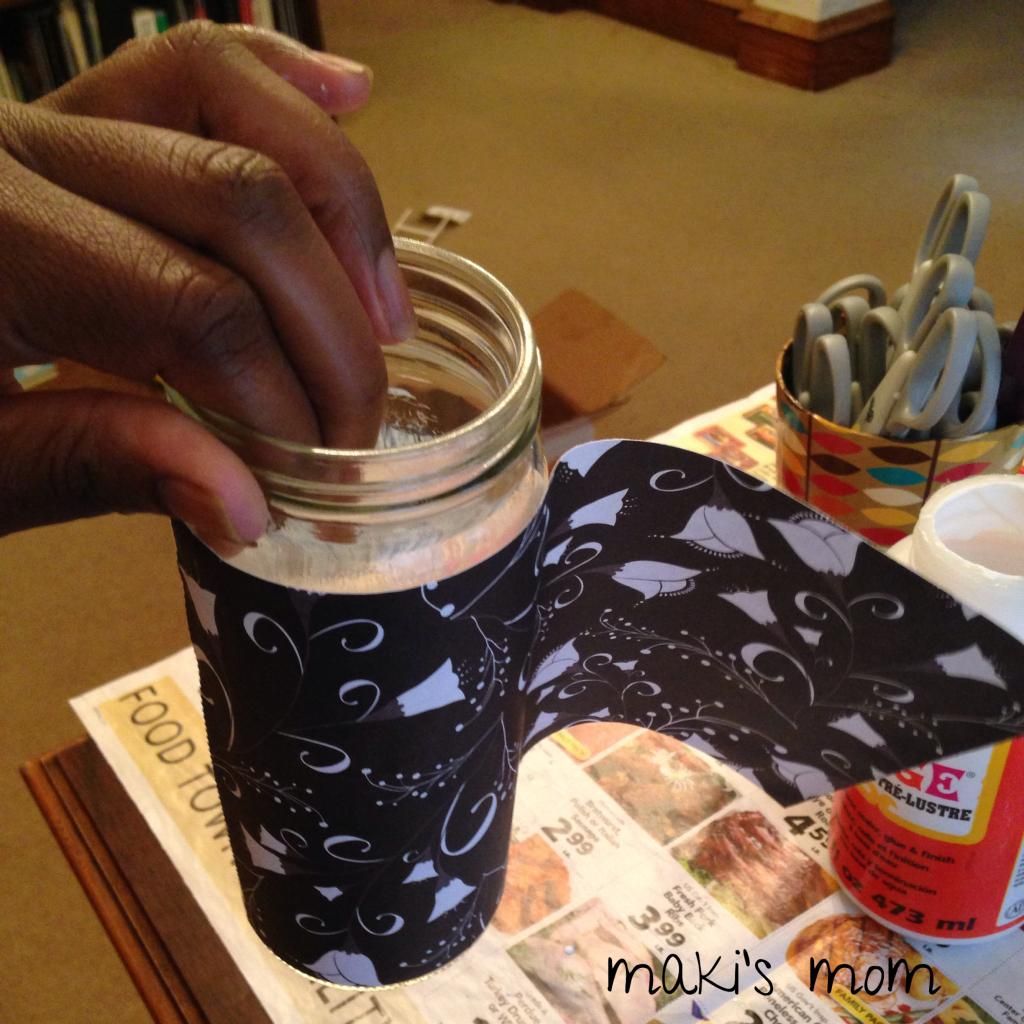
You need to move quickly here as you don't want the Mod Podge to start drying and prevent you from getting perfect adhesion. You have about three seconds {don't quote me} to ever so gently readjust your paper if it's slightly off. You want the edges to line up just right. I cut my paper to have about a 1/16th of an inch overlay because I was too nervous about having a gap if it didn't line up right.{The scrapbook paper I used is fairly thin. I wouldn't recommend overlapping thicker paper.}
Be sure to quickly smooth and straighten out any wrinkles or bubbles. And then allow the application to dry for about fifteen minutes.
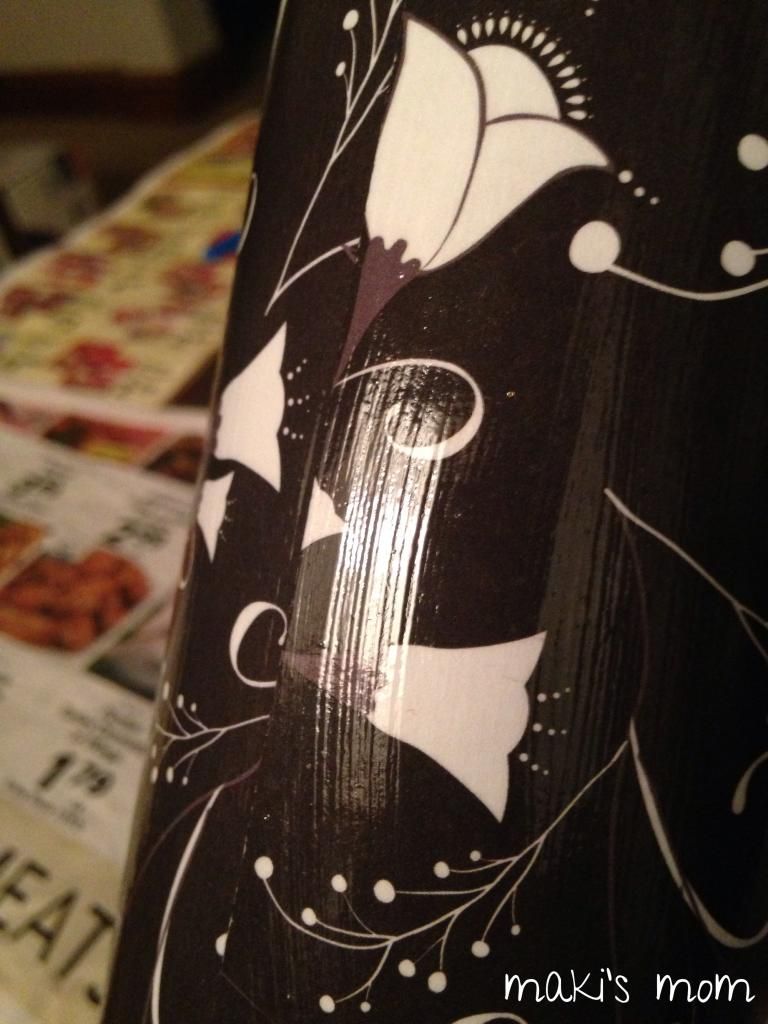
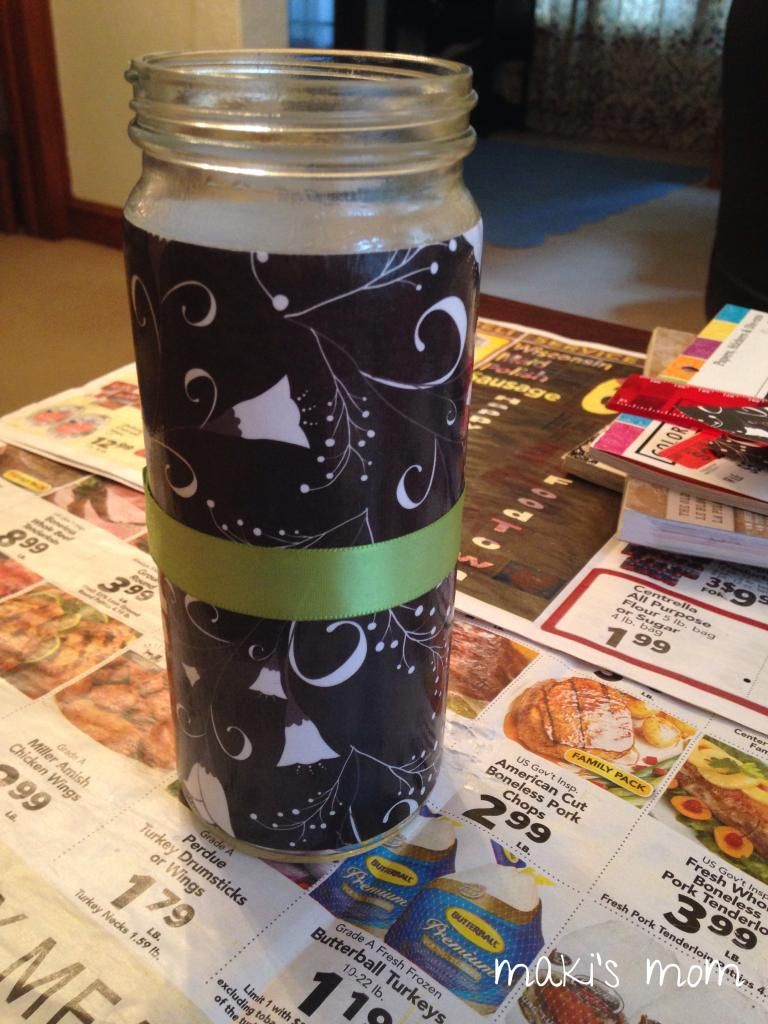
When I felt it was dry enough, I applied a coat of Mod Podge over the scrapbook paper. I used a bristle brush instead of a foam brush {which most people use to apply Mod Podge} because I actually wanted to enhance the brush strokes. I wanted the brush strokes to give the project texture, plus I figured the vertical lines throughout would be a great camouflage for the seam where the paper meets itself.
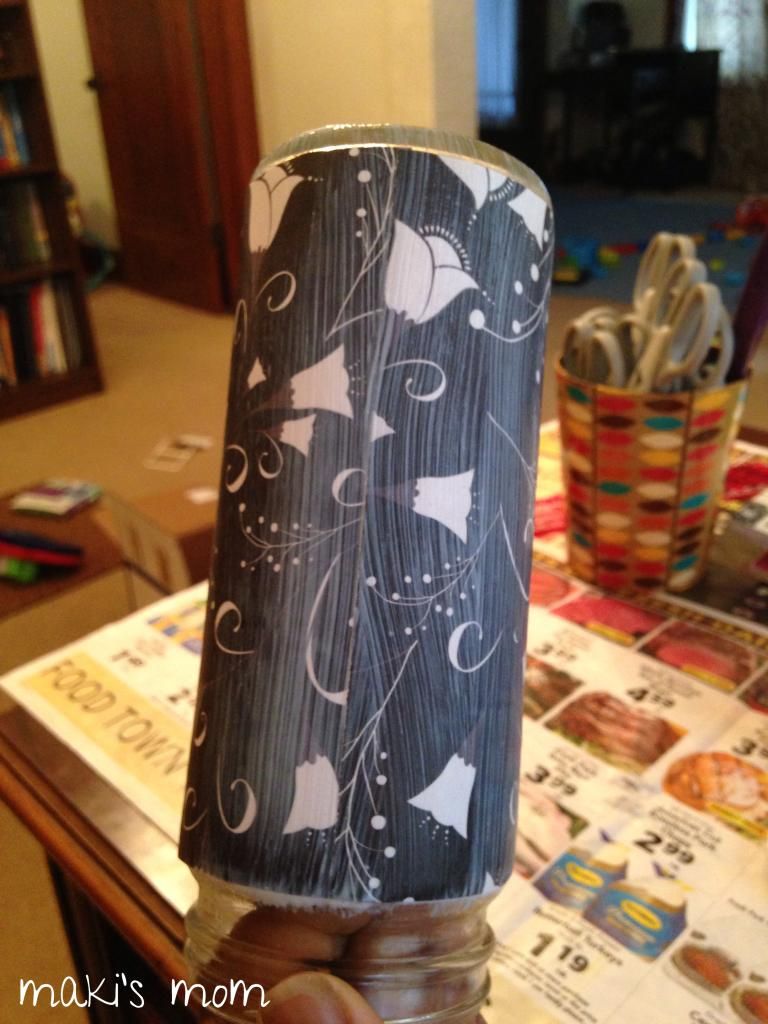 |
| Mod Podge goes on white, but dries clear. |
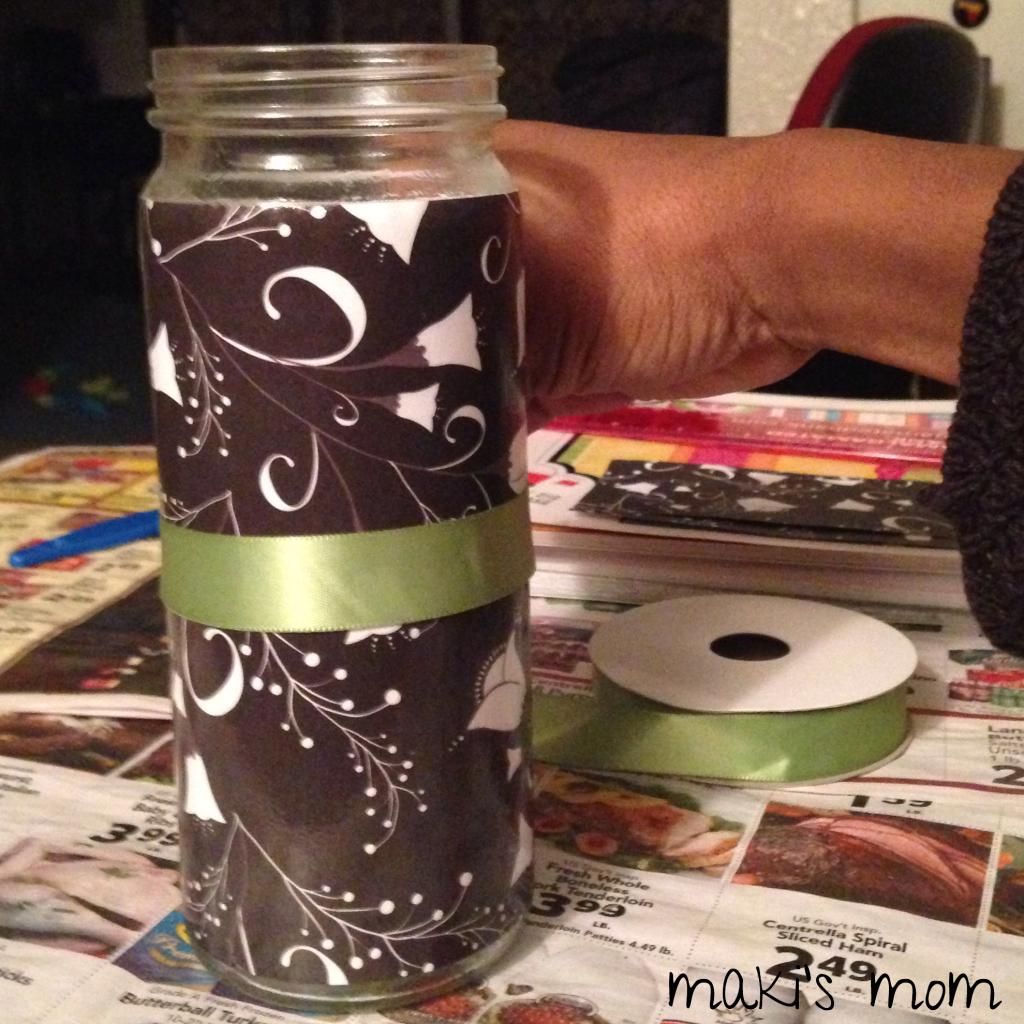
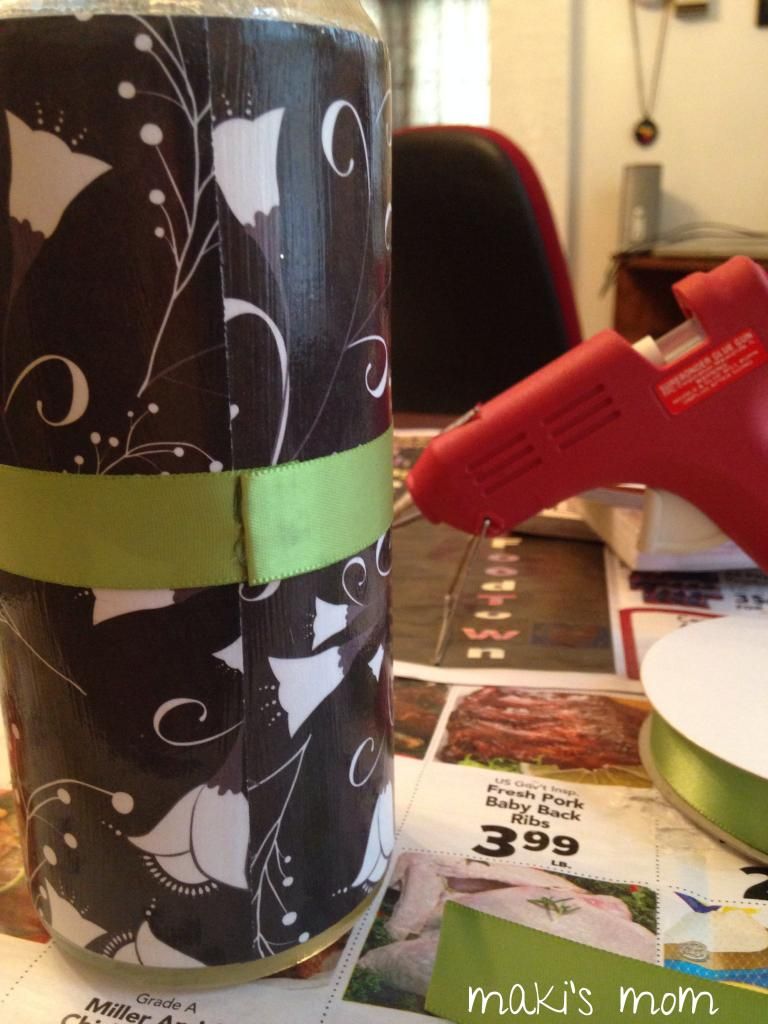
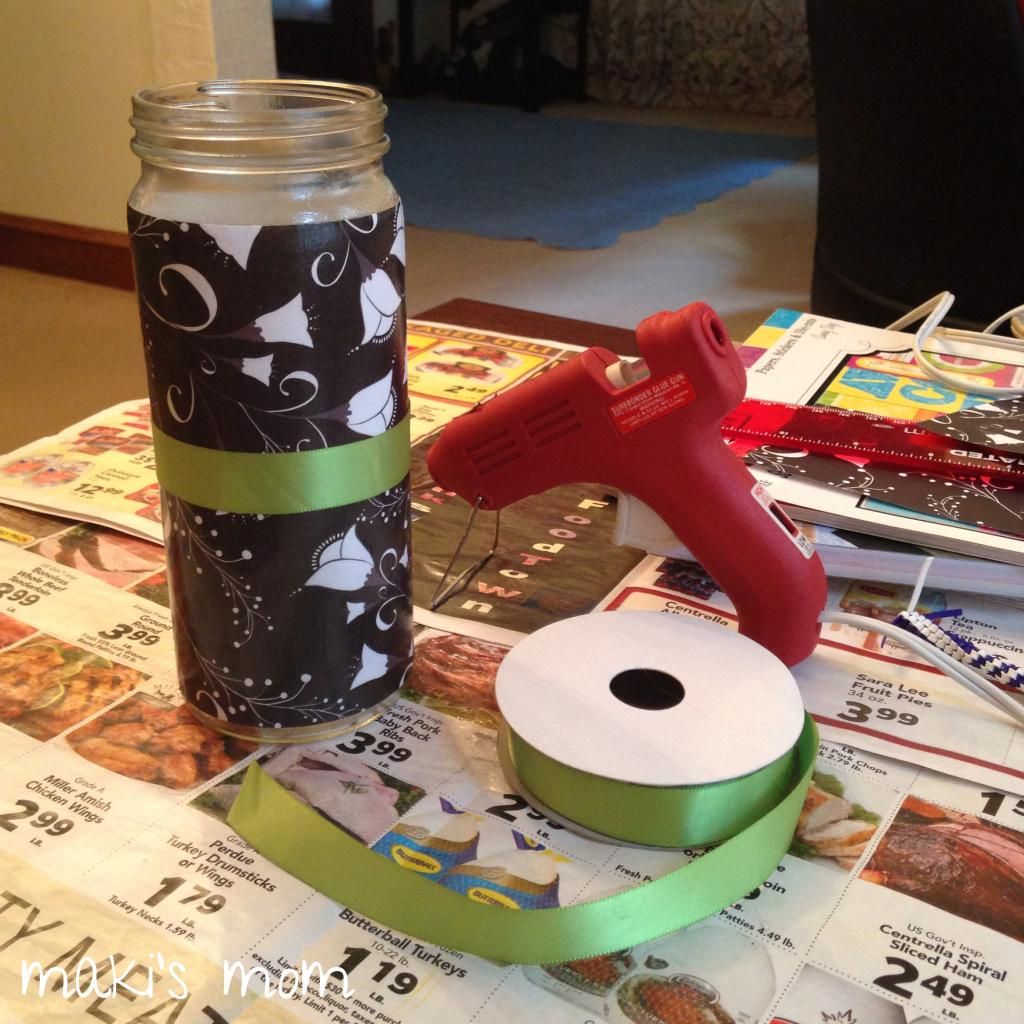
After the jar set overnight, it was time for the finishing touches. I knew I wanted to use a ribbon as an adornment, but I had to be careful not to make it clash with the existing decor and I also had to consider my husband's taste. I tried to go for some more muted colors, but they just didn't do it for me. I loved a hot pink against the black and white, but I knew that was pushing it. So I opted for a bright green that gave me the same vibrance of the pink and I can reason into decor and green is my husband's favorite color. {And if it turns out
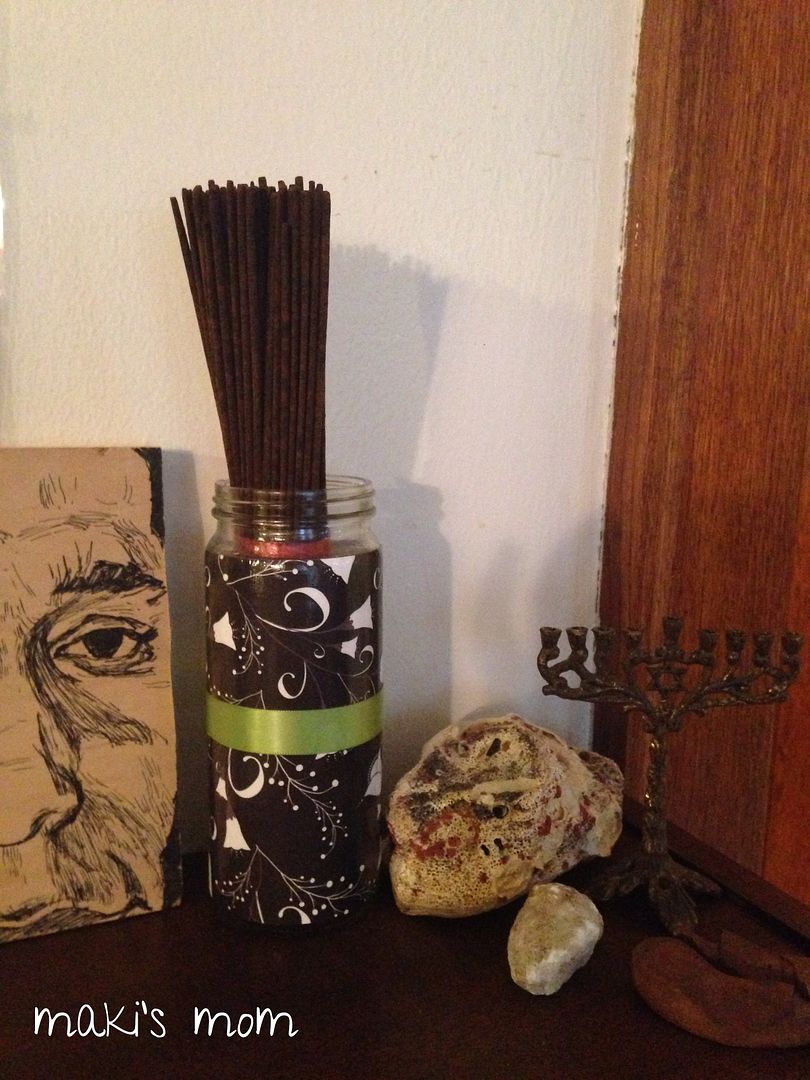
And here's the finished product.
Easy peasy.
I am currently working on finishing up the other incense holders. Check back soon to see how they turn out!
No comments:
Post a Comment