Showing posts with label DIY. Show all posts

Friday, November 21, 2014

ezpz diy: incense holder

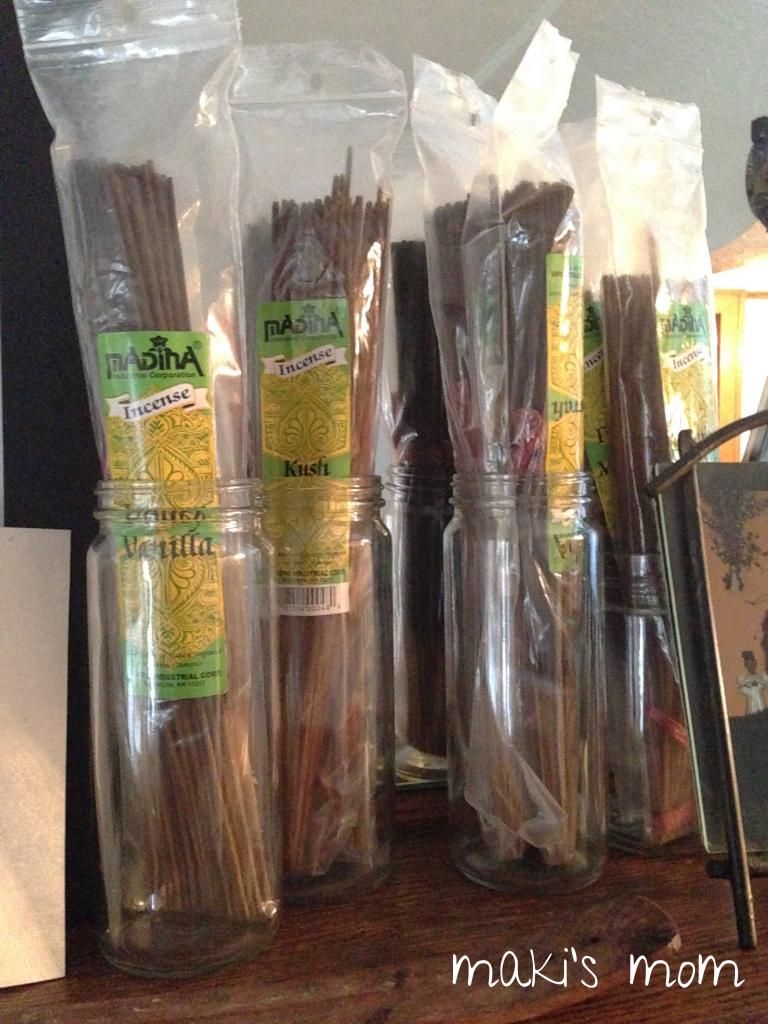
We love to light incense in my house. Incense is more than an air freshener; it brings an entire aura to the home. Whether it be cleaning, cooking, reading, writing, meditating or just hanging out, burning incense helps me to set my intention and focus on the task at hand.

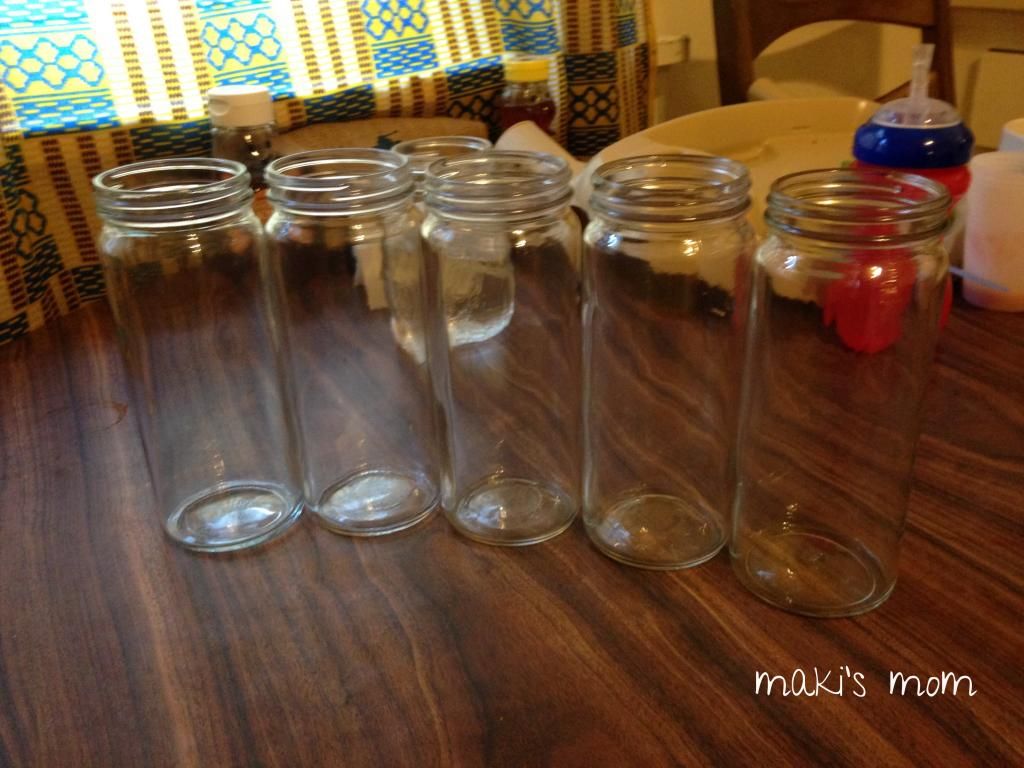
incense in naked jars

We were using empty jars to store our incense. I decided these naked jars could use some beautifying. Plus tackling this project allowed me to play with use some of the crafting supplies that I've been amassing and practice some crafting techniques that I might be able to use to make gifts for the upcoming holiday season.


For the first jar, I decided to cover it with scrapbook paper. This was simple enough as I'm pretty familiar with the technique from the coaster projects that I've done {here and here}.
First I cleaned the jar. {You can read about that here.}
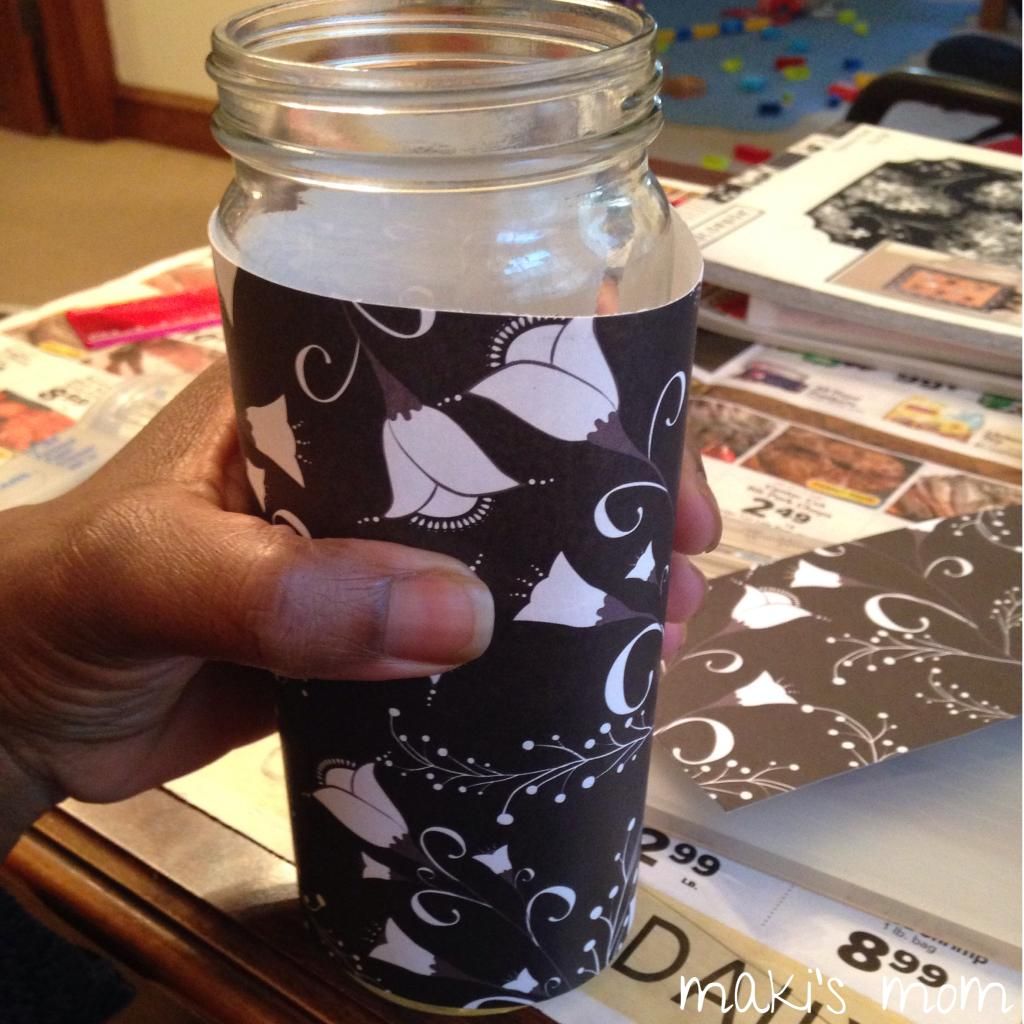
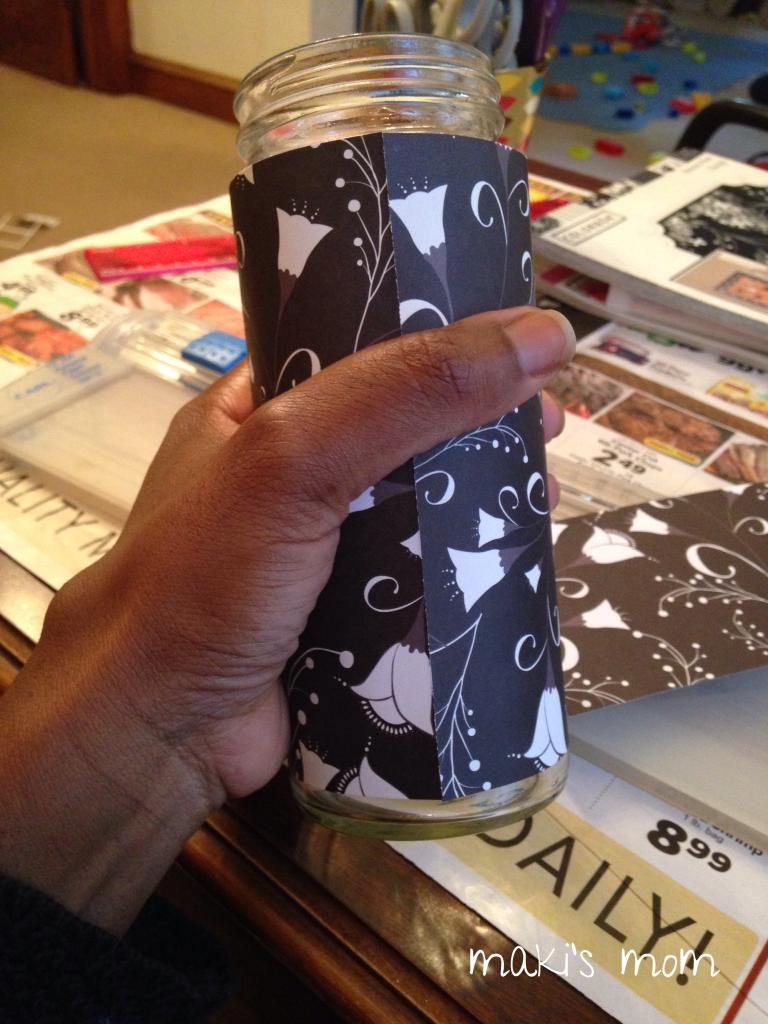
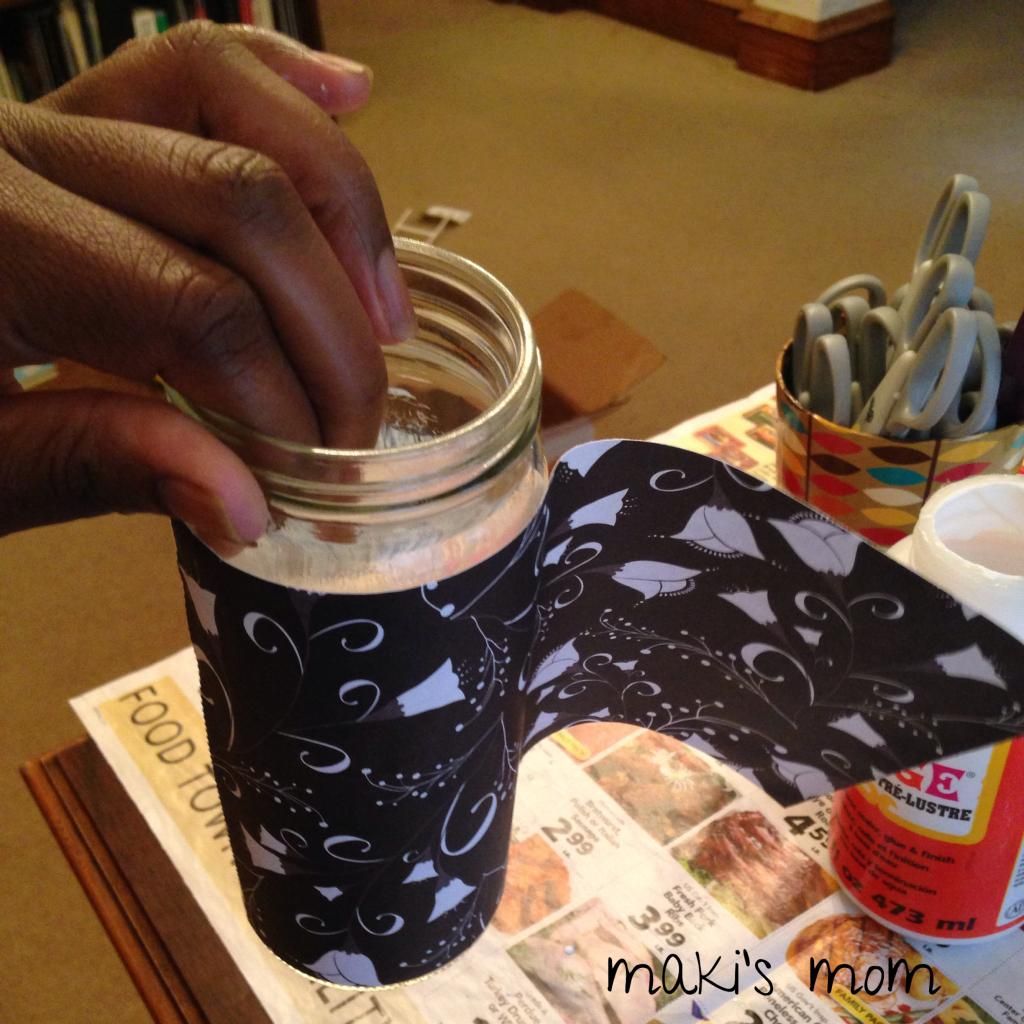
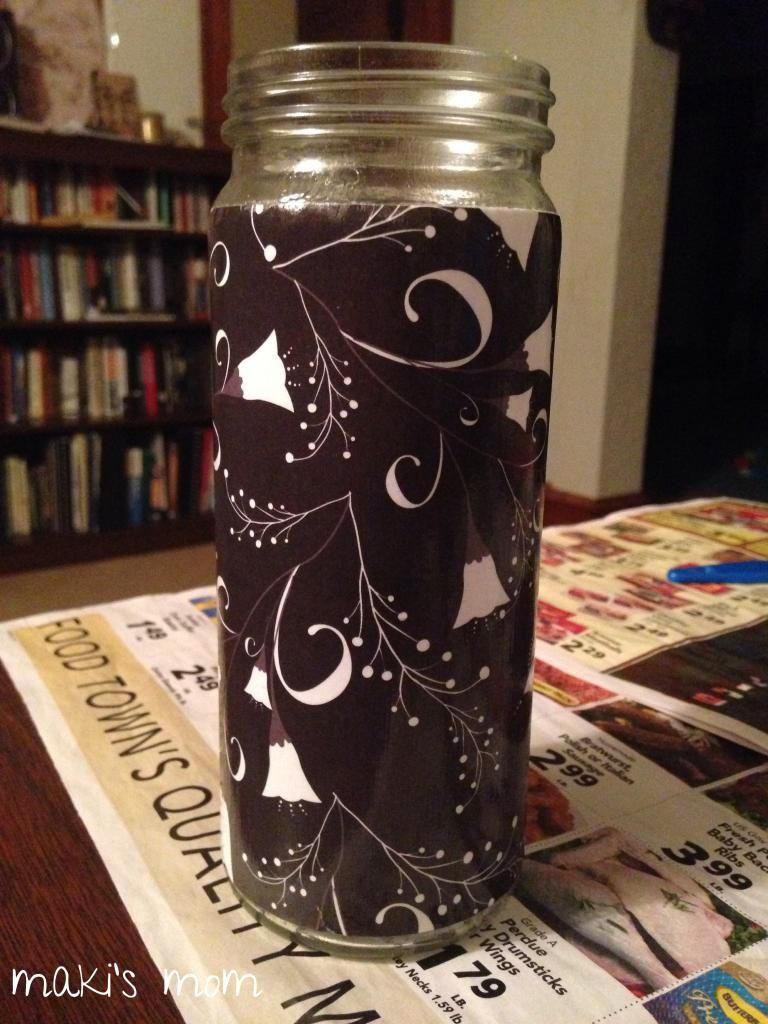
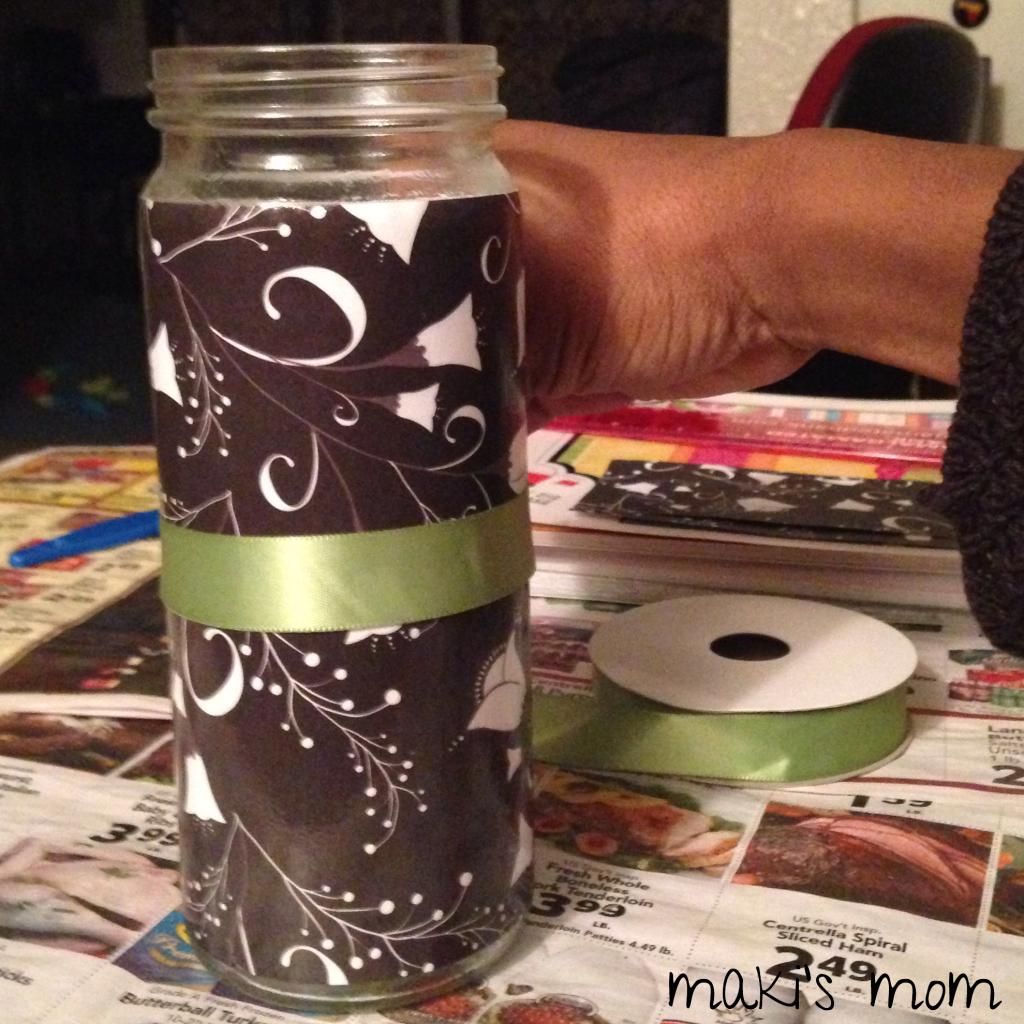
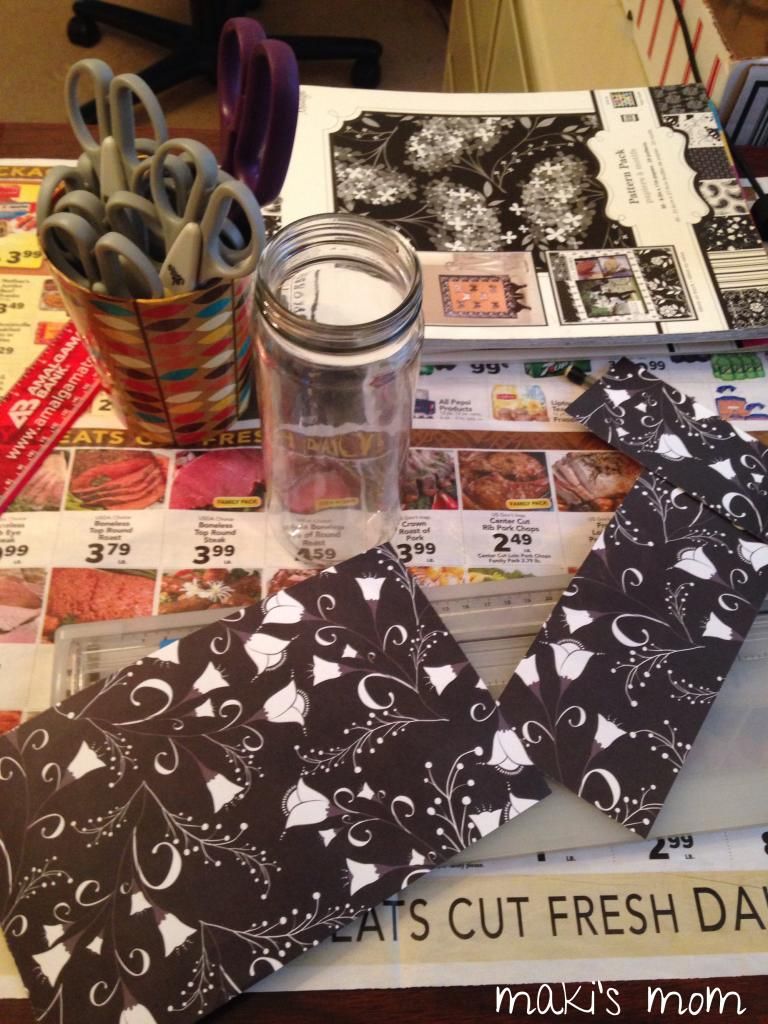
Next I measured and cut scrapbook paper to fit around the jar. I didn't want to go all the way up to the grooves because I didn't feel like dealing with wrinkles and bubbling as the jar indents. So I kept it simple and measured in order to wrap the flat part in between where the jar curves {I hope that's not too confusing. But the pictures should make sense.}
scrapbook paper covered jar

scrapbook paper covered jar

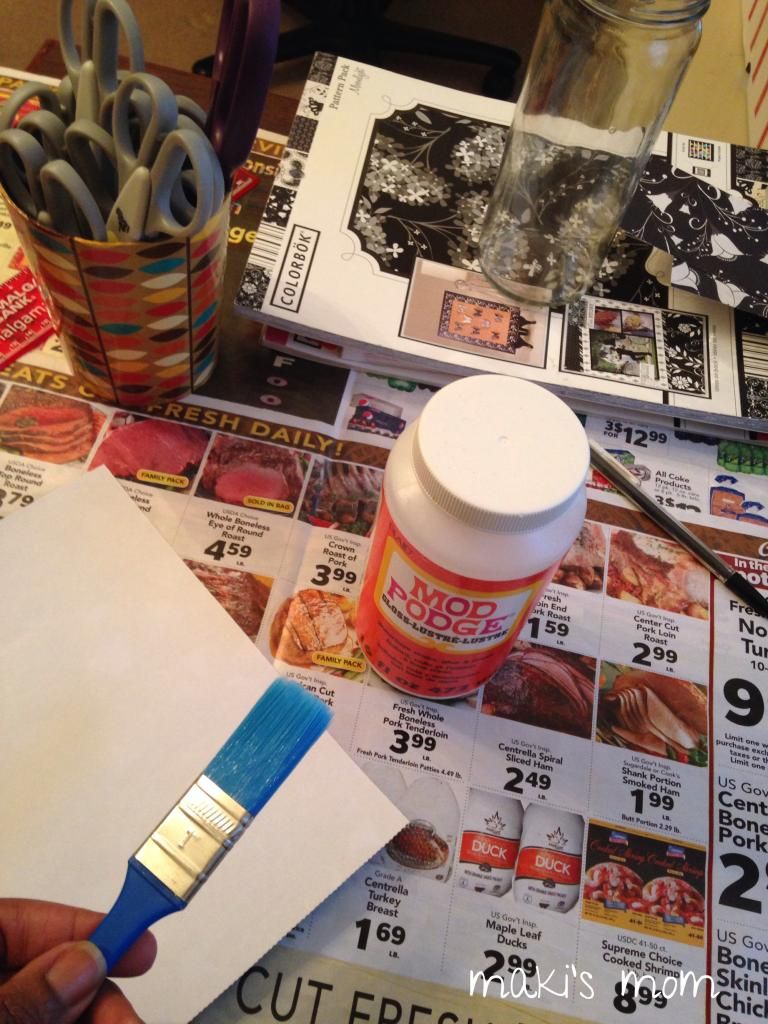
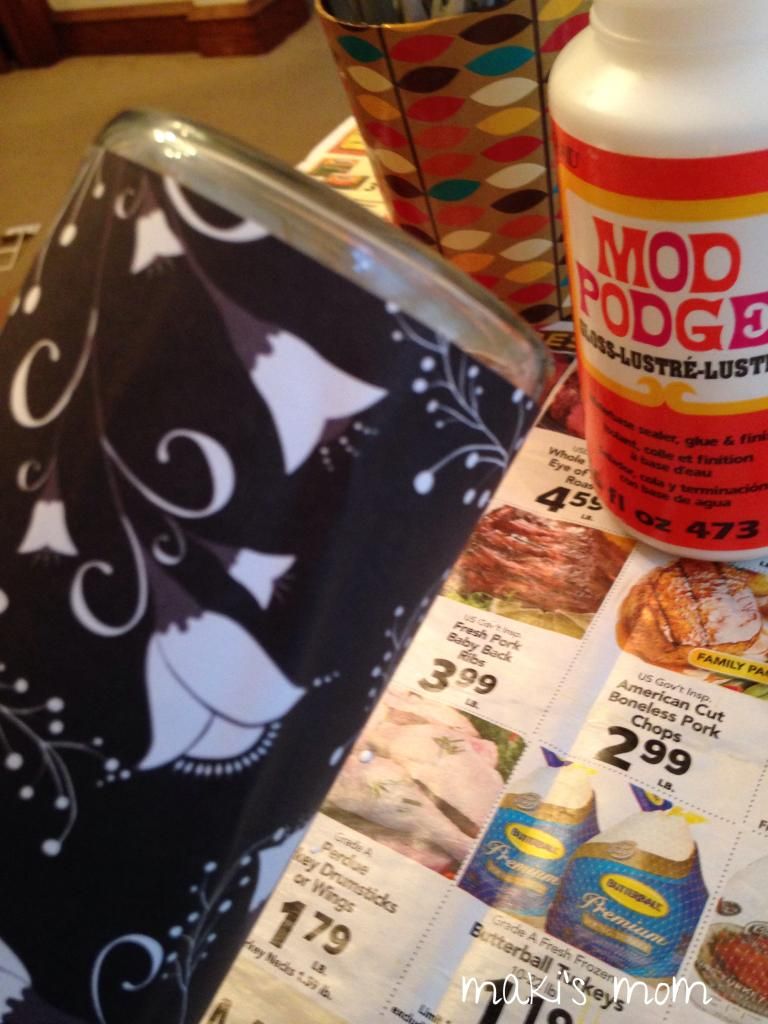
Next I applied a coat of  Mod Podge to the back of the scrapbook paper and to the jar itself.
mod podge application
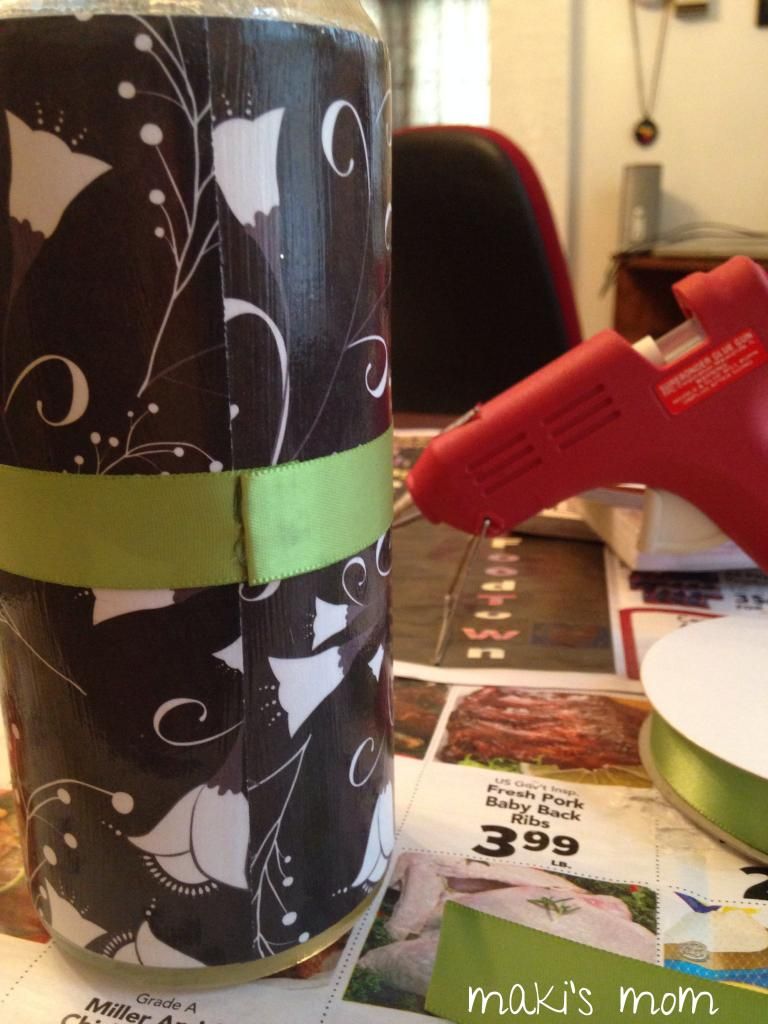
You need to move quickly here as you don't want the Mod Podge to start drying and prevent you from getting perfect adhesion. You have about three seconds {don't quote me} to ever so gently readjust your paper if it's slightly off. You want the edges to line up just right. I cut my paper to have about a 1/16th of an inch overlay because I was too nervous about having a gap if it didn't line up right.{The scrapbook paper I used is fairly thin. I wouldn't recommend overlapping thicker paper.}
Be sure to quickly smooth and straighten out any wrinkles or bubbles. And then allow the application to dry for about fifteen minutes.
mod podge application
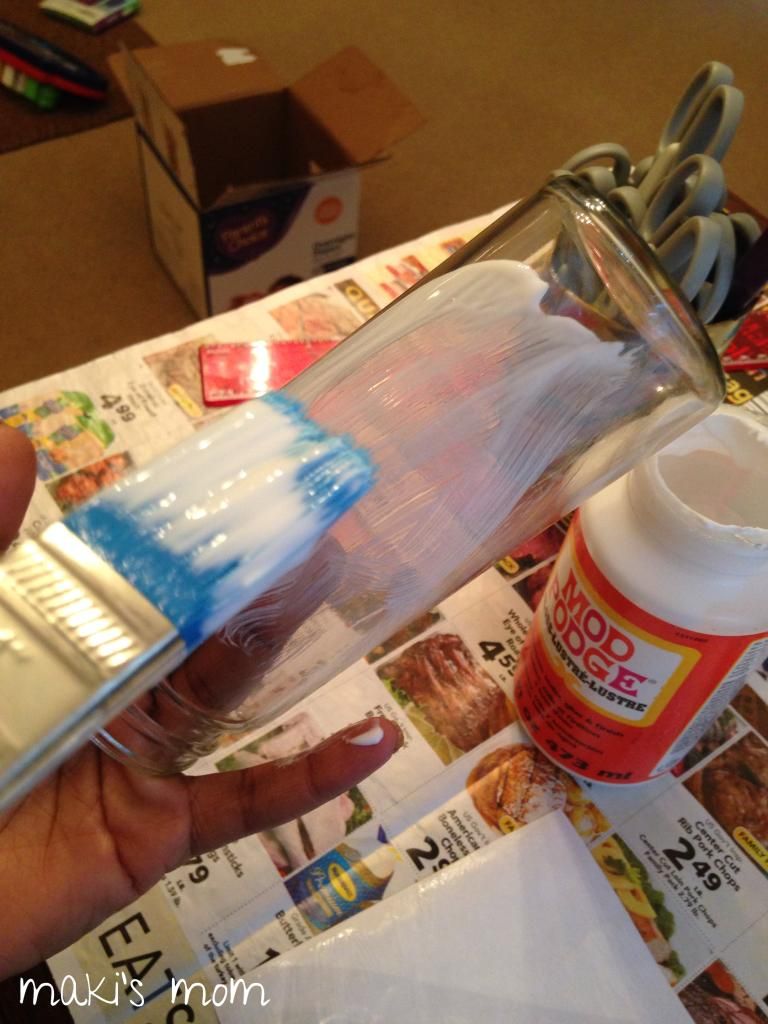
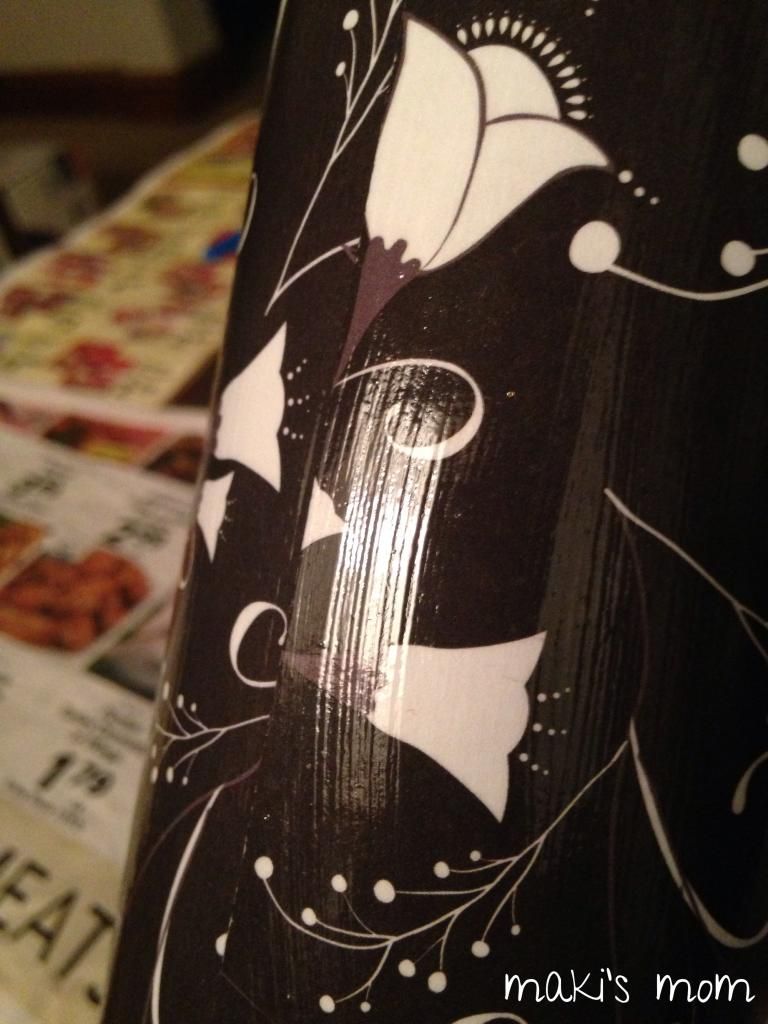
When I felt it was dry enough, I applied a coat of Mod Podge over the scrapbook paper. I used a bristle brush instead of a foam brush {which most people use to apply Mod Podge} because I actually wanted to enhance the brush strokes. I wanted the brush strokes to give the project texture, plus I figured the vertical lines throughout would be a great camouflage for the seam where the paper meets itself.
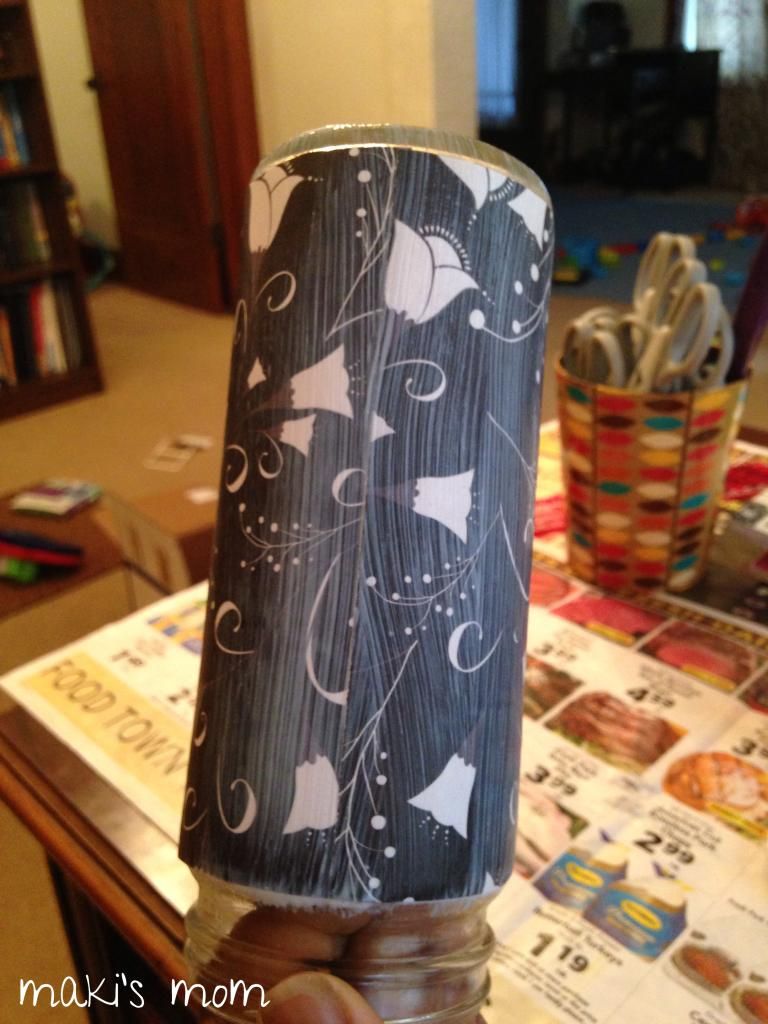
mod podge application
Mod Podge goes on white, but dries clear.
clear drying mod podge
I allowed this to dry for a few hours while I took care of some stuff around the house and then applied a coat of Polycrylic to seal the project. You will see different recommendations for the amount of coats of Mod Podge or sealer you should use depending on the project. For this project, I figured one coat of each was sufficient enough for how I planned to use the jar. 
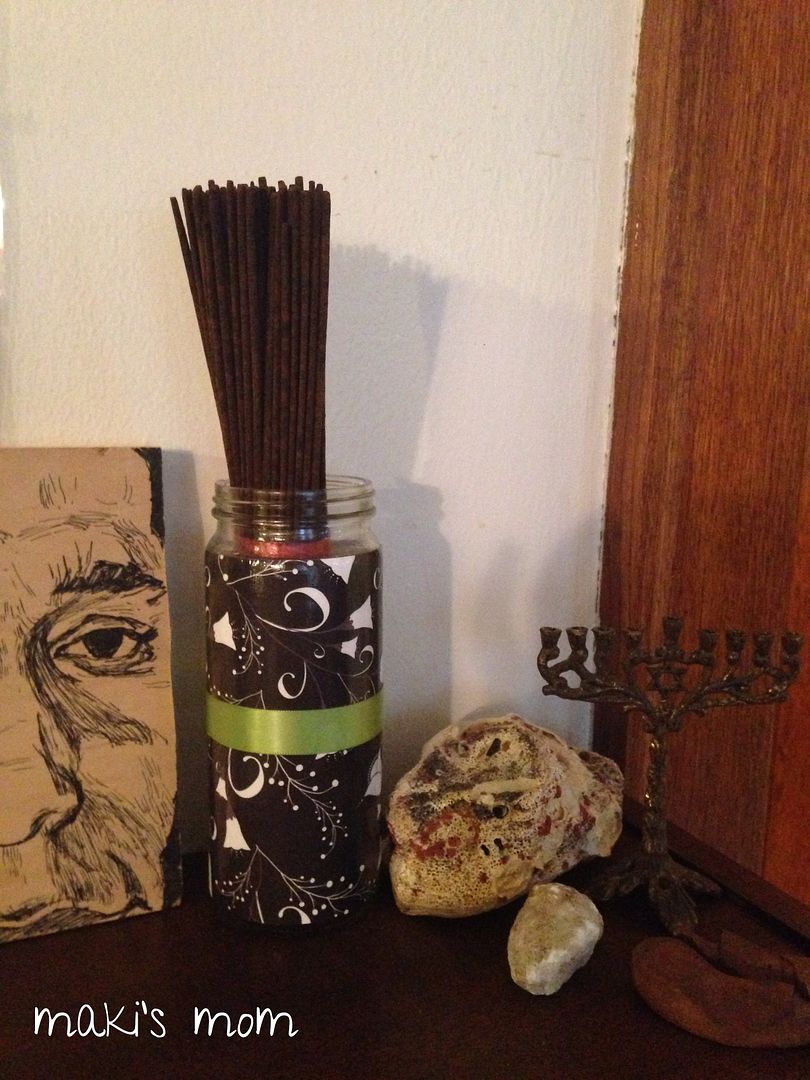
Decoupaged recycled jar incense holder
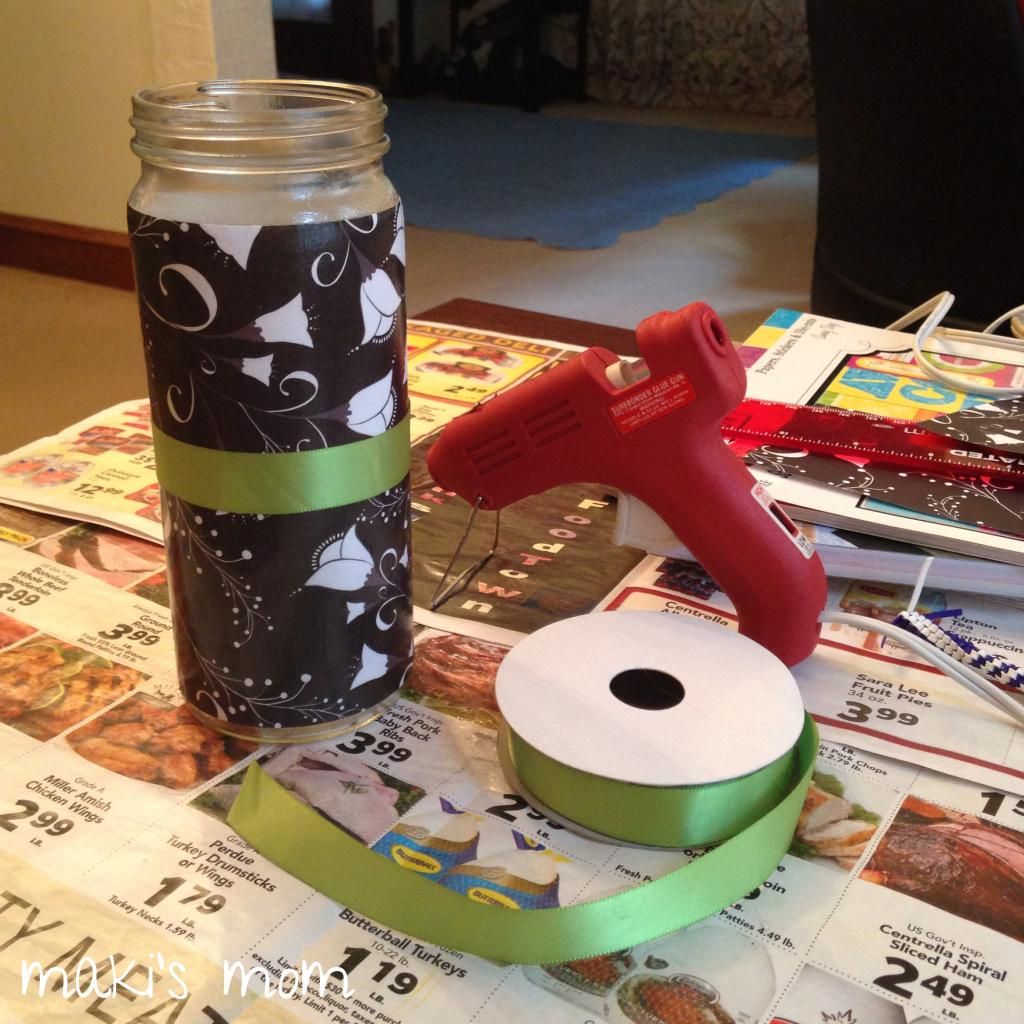
After the jar set overnight, it was time for the finishing touches. I knew I wanted to use a ribbon as an adornment, but I had to be careful not to make it clash with the existing decor and I also had to consider my husband's taste. I tried to go for some more muted colors, but they just didn't do it for me. I loved a hot pink against the black and white, but I knew that was pushing it. So I opted for a bright green that gave me the same vibrance of the pink and I can reason into decor and green is my husband's favorite color. {And if it turns out terrible not to my liking, I can always gift it.} I simply attached the ribbon using my hot glue gun.
Decoupaged recycled jar incense holder

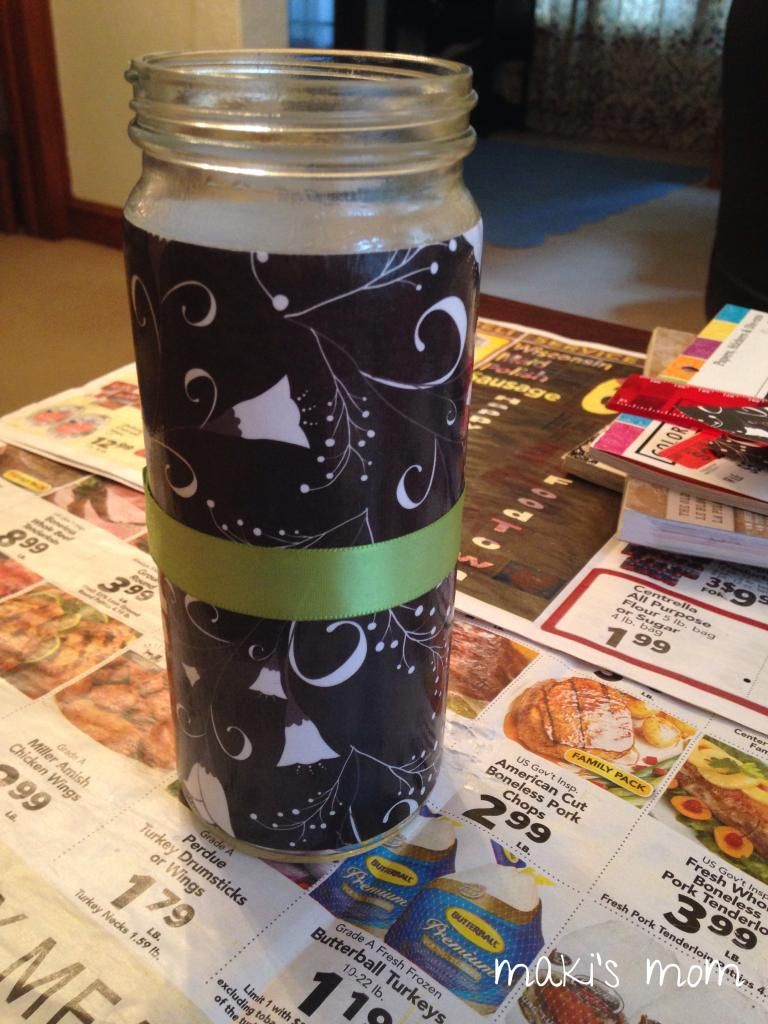
And here's the finished product.
Decoupaged recycled jar incense holder
Easy peasy.


I am currently working on finishing up the other incense holders. Check back soon to see how they turn out!
Wednesday, November 19, 2014

ezpz diy: how to remove labels and sticky residue from salvaged jars


Remember back when I was searching for projects using jars... well here's one that I got around to doing. My jar collection was getting ridiculous and I knew it was time to either do something with them or put them out for recycling. With the holidays coming up, I figured homemade gifts can be a good way to get rid of use some jars. I wanted to try out a few different beautifying techniques before tackling the gift jars. So I decided to practice on the jars I was using as incense holders.

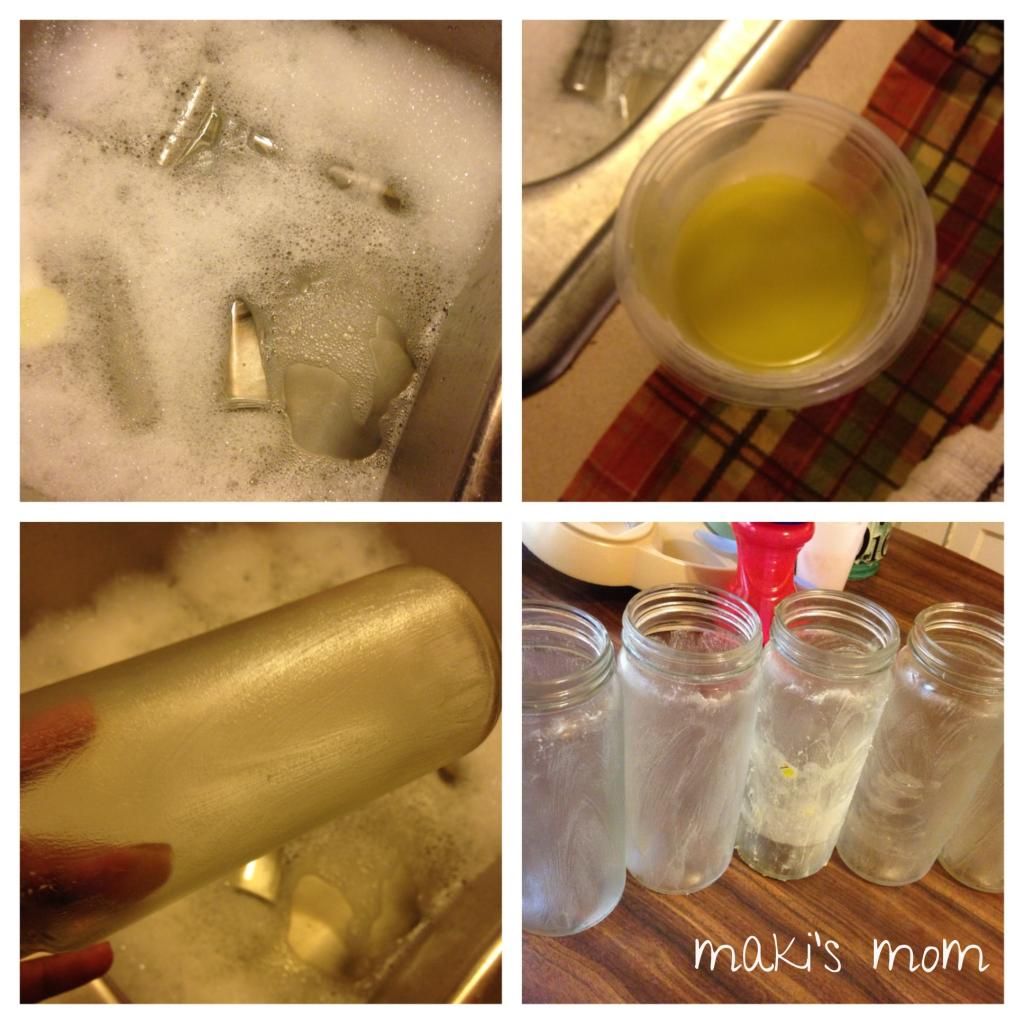
The first thing I had to do was remove all of the labels and sticky residue from the jars. For this, I decided to put a popular Pinterest method to the test. There are thousands of pins out there touting the efficiency of baking soda and olive oil as a simple fix for the begrudged sticky residue. Does it work? Here's my experience:
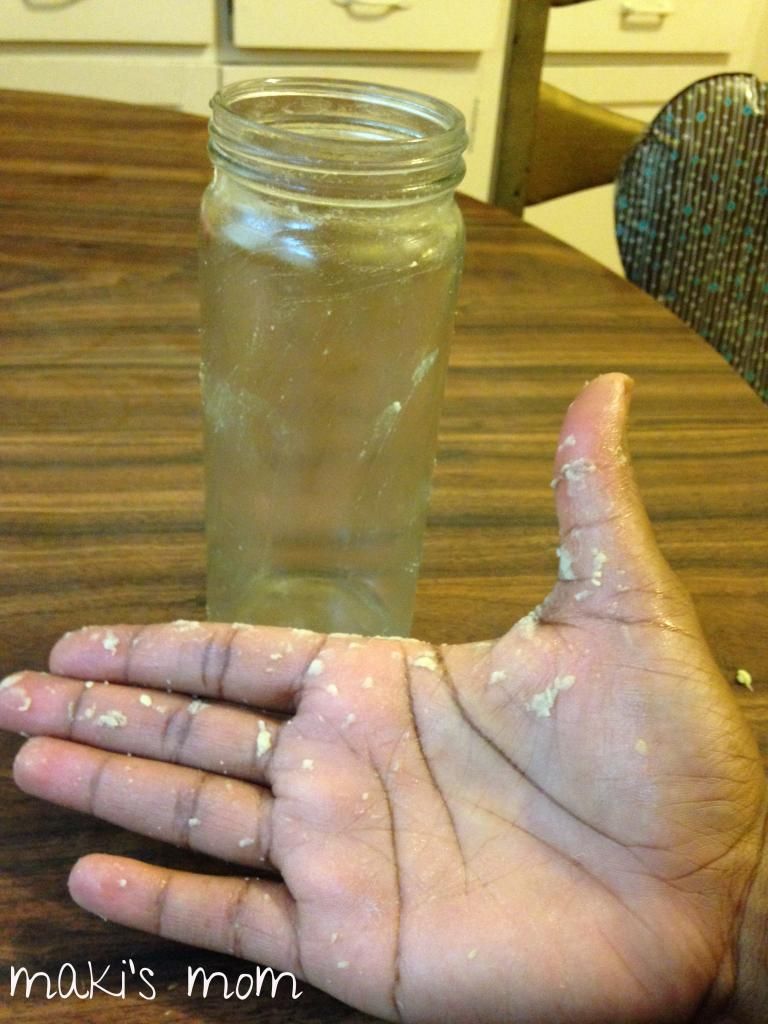
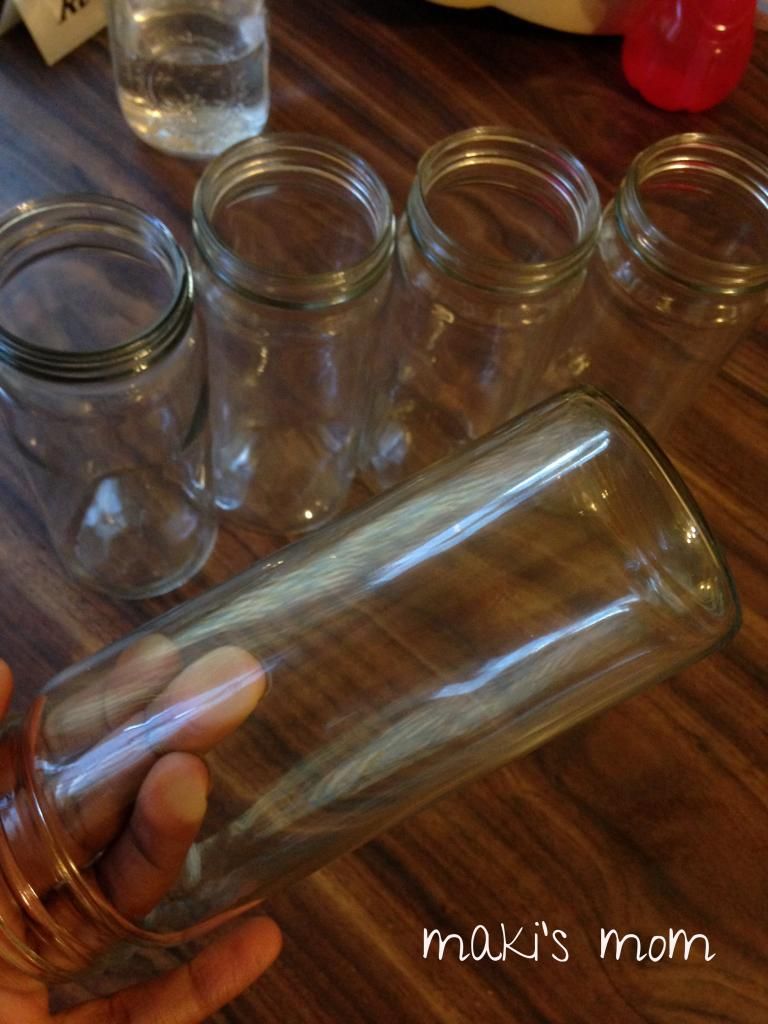
clean labels from jars using baking soda and olive oil

First I submerged the jars in hot soapy water for about five minutes. {If your jar still has a label intact it might take much longer, but I soak and peel my labels as soon as the jar is empty. However, I don't always get them completely clean.}
Next, I rubbed a mixture of equal parts olive oil and baking soda on each jar. {I used a tablespoon of each. And just scooped some out with my finger tips and rubbed it on the jars.}
I let the jars sit for about ten minutes and then simply rubbed them clean in the soapy water using my hand.
Easy peasy.


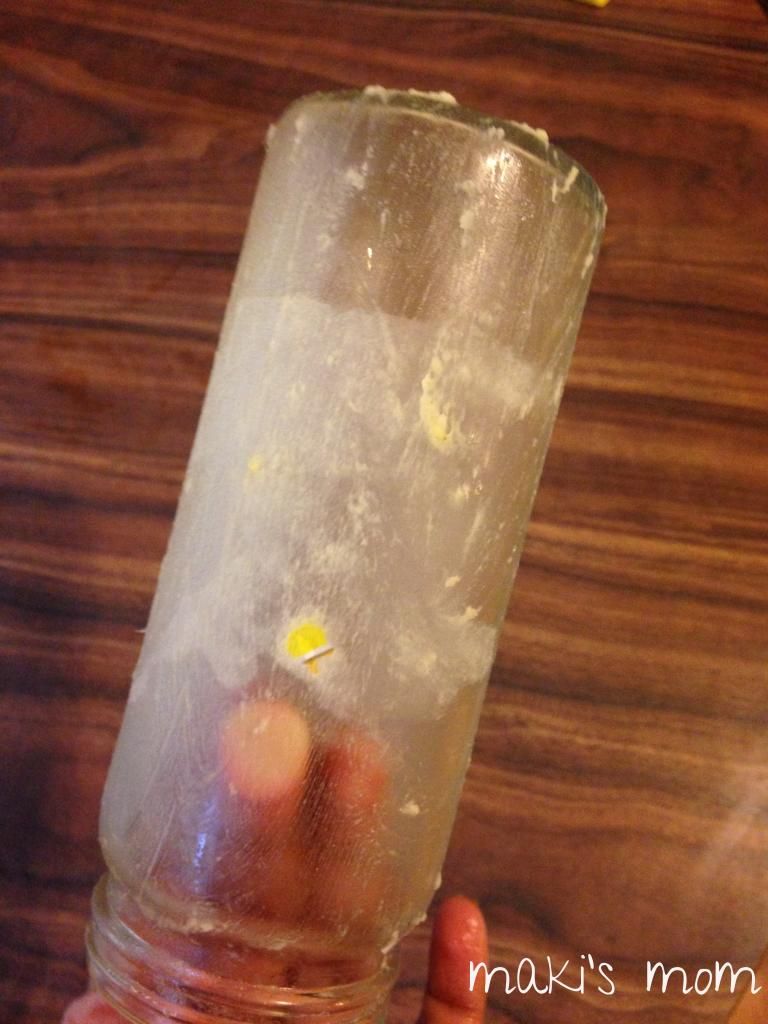
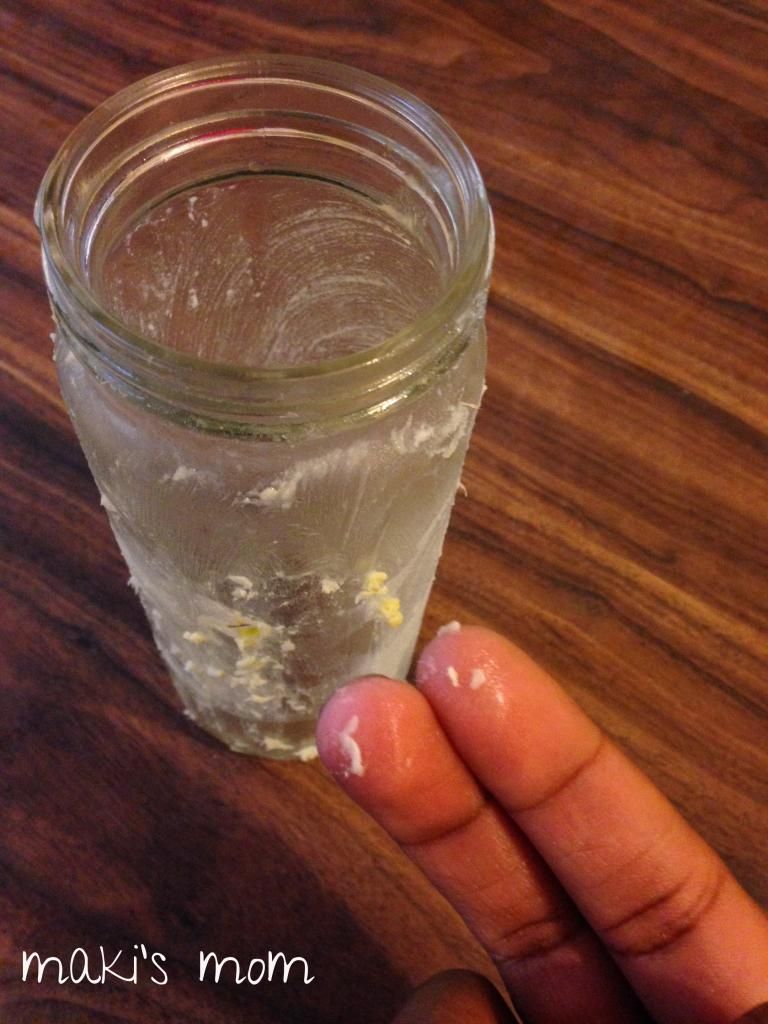
There was one jar, that still had remnants of the label on it when I began. For that one, I actually treated it twice. The first treatment lifted the label and the second one lifted the glue. I probably could have used more elbow grease with just one treatment to get the glue off, but doing it twice was way easier.

clean labels from jars using baking soda and olive oil
I will definitely be using this method to remove the labels and glue residue from jars here on out. I guess you can call it a pin win.
clean labels from jars using baking soda and olive oil


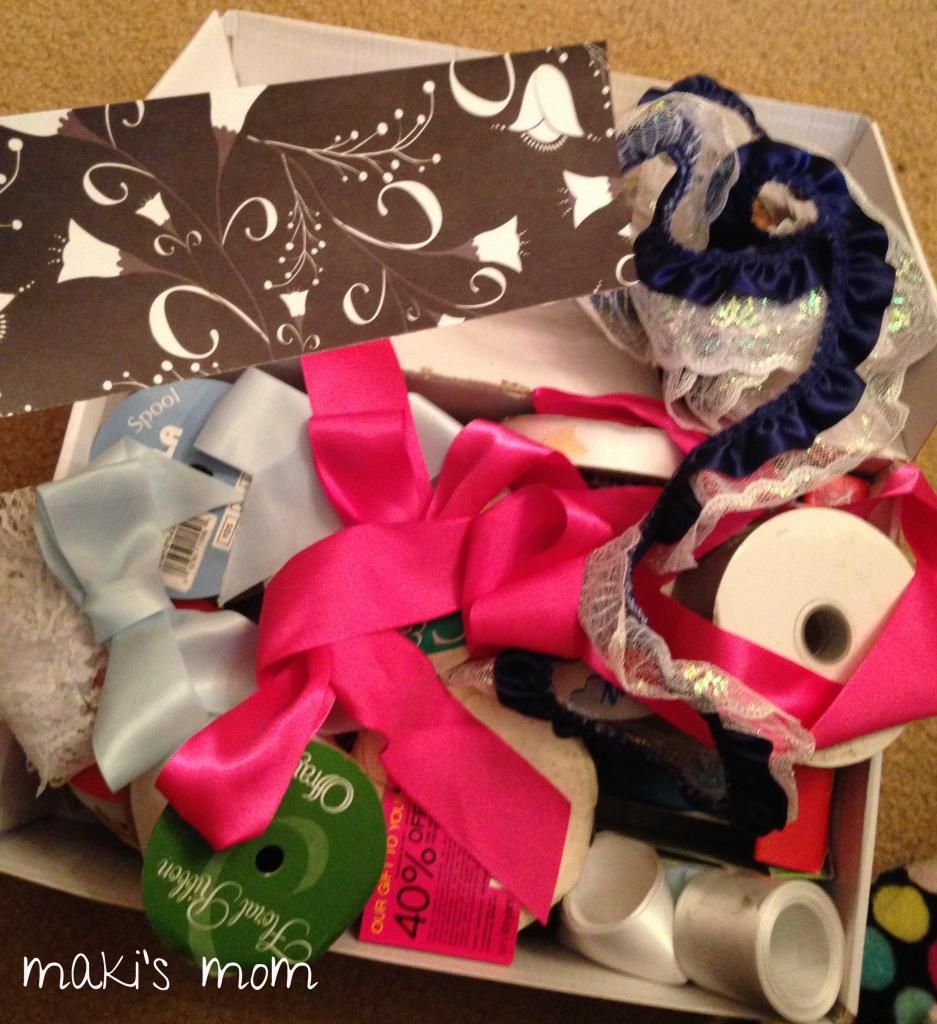
My next post will feature a completed jar. Here's a sneak peek: 

box of ribbons

Monday, October 6, 2014

crochet rocket


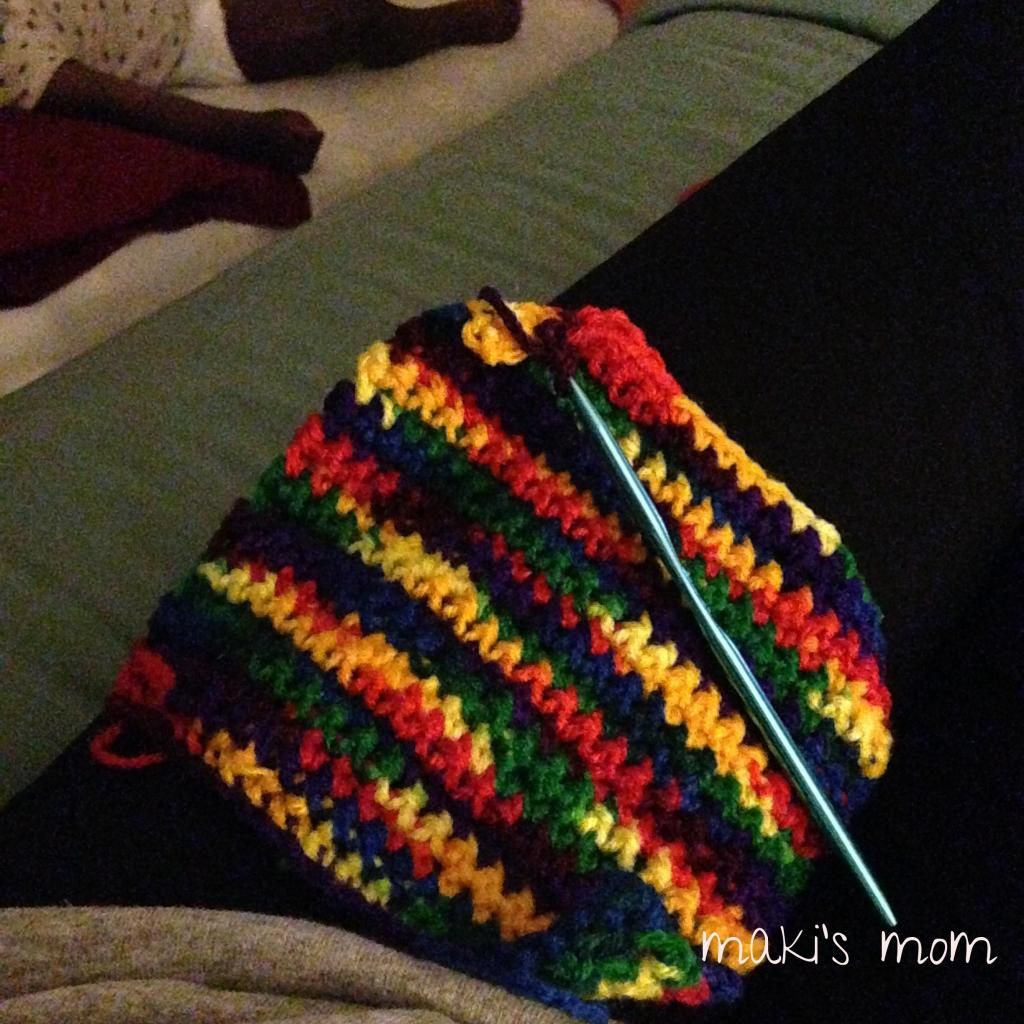
I've been teaching myself to crochet. {I have a hard time not reading the word crochet as crotch-it. Oh, the many idiosyncrasies of the English language.} I've wanted to learn how to crochet for a long time. I have always admired women {especially women my own age} who crochet. Looking at a finished piece was intimidating. I believed there was no way I could do something so intricate. Or that it was too late for me to learn to crochet. I seriously thought that. I don't know why I felt that way. I think maybe because I saw my sister learn at such a young age I felt, since I hadn't yet learned I would just never be one who crochets. I know that that doesn't really make much sense, but I think often times the things that prevent us from growing and trying new things never really make sense.

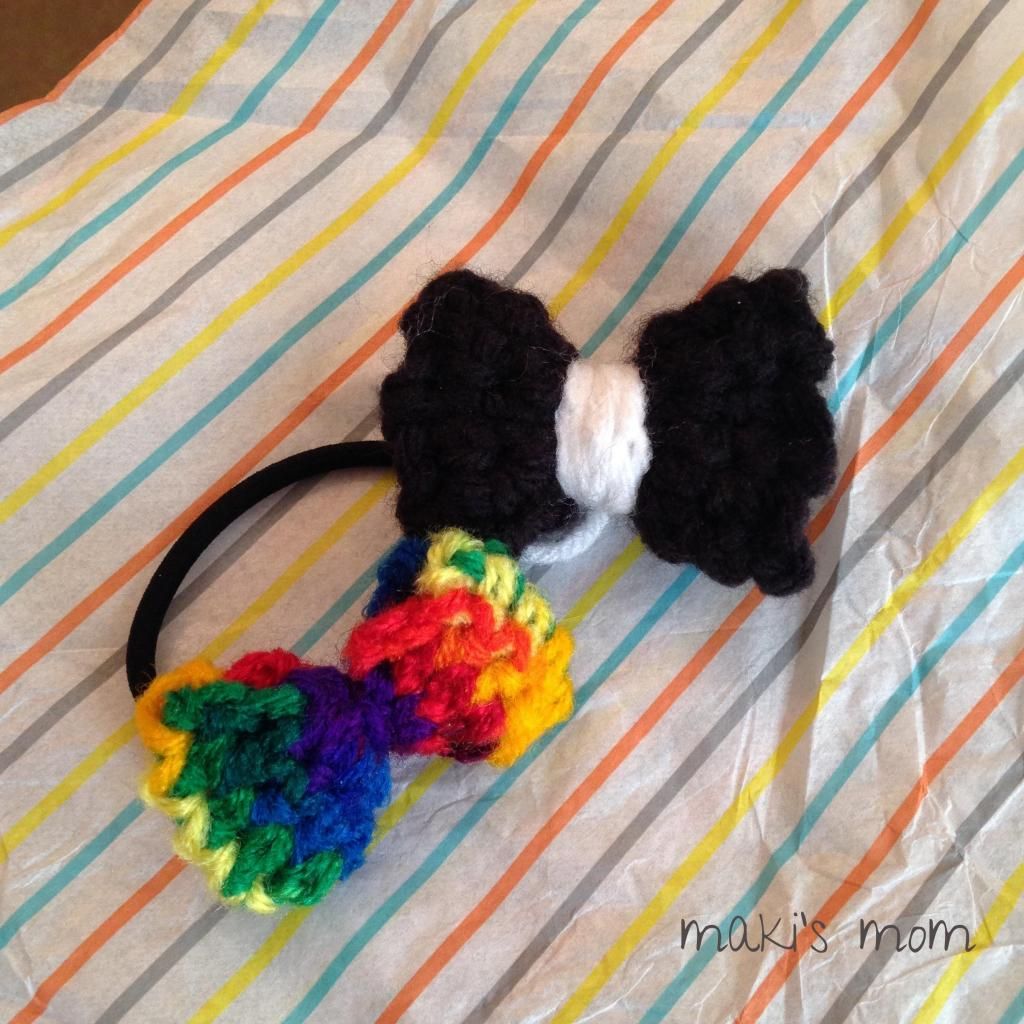
Using YouTube videos and my jack of all trades sister's advice I have learned a few of the basic stitches: single crochet (sc), double crochet (dc), half double crochet (hdc), and treble or triple crochet (tr or trc). I've made a couple scarves and hats as well as a couple bows for a friend's pooch. The bows are incredibly easy and quick to make. They are so cute and can be used as jewelry, hair and wardrobe accessories, crafting projects and I'm sure much more. I'm lightly toying with the idea of making some for sale. But I'm not really ready for that, so maybe further down the line, it's something I might consider more seriously.

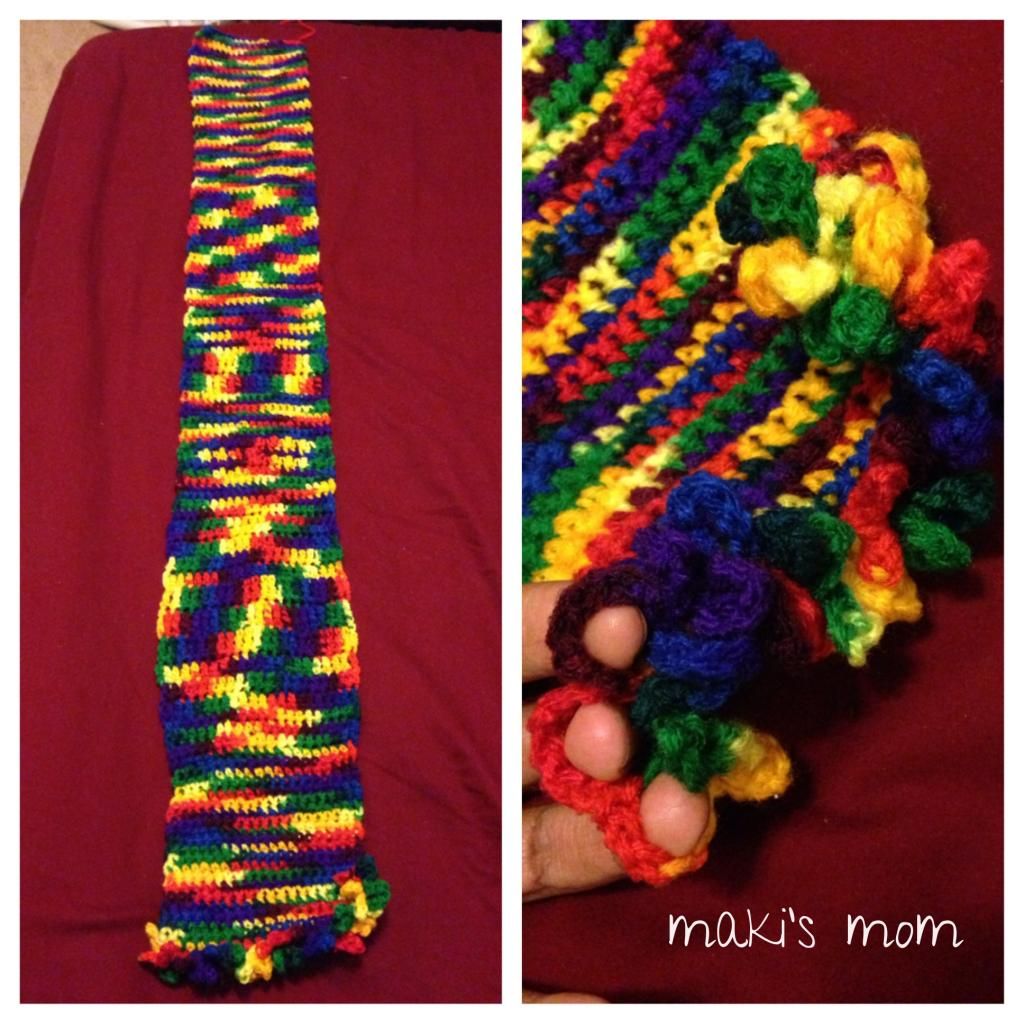
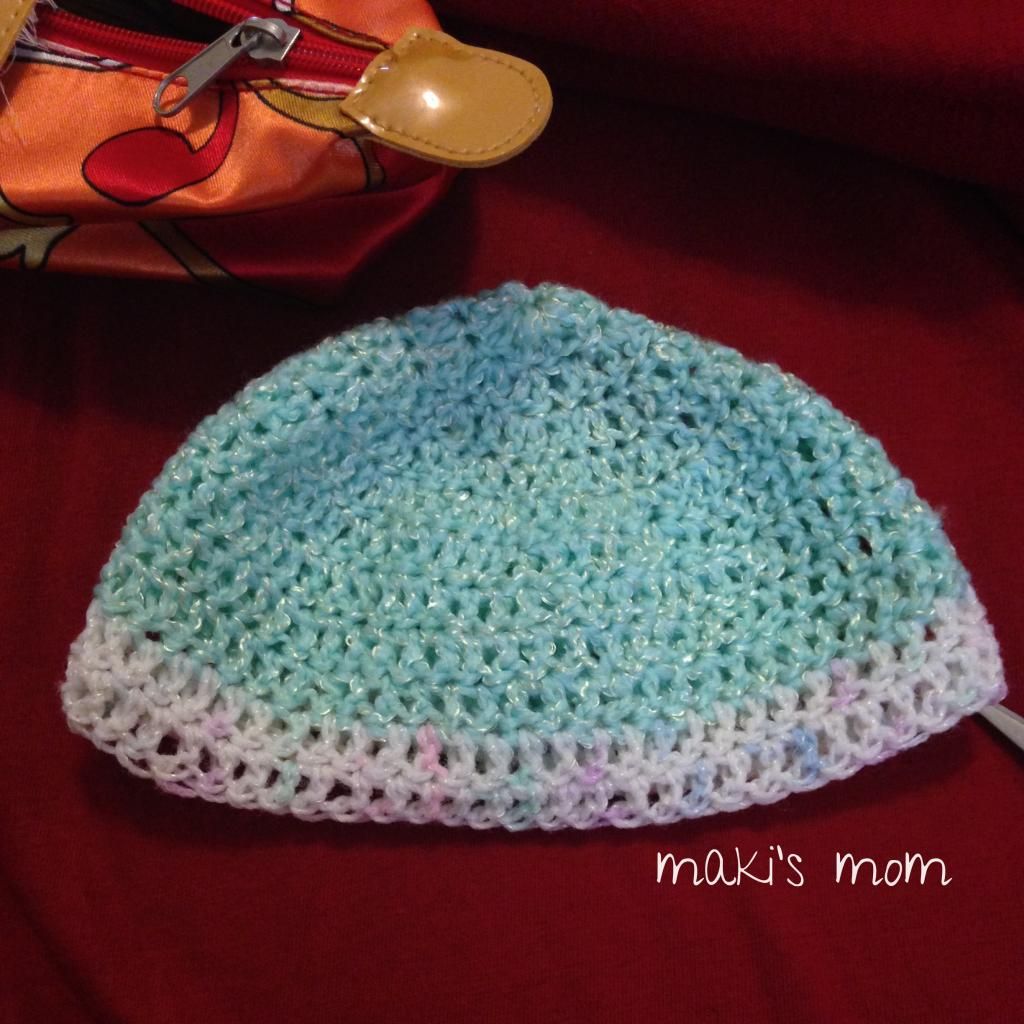
Check out a few of my completed projects:
crochet scarf
My very first crochet project.
A newborn hat for my expected niece/nephew.
An blurry action shot of Maki wearing a beanie I crocheted.

My first attempt at crochet bows.

Lessons learned the hard way:

Buy enough yarn to complete your project all at the same time.

I picked up some yarn to make a hat and scarf set for my nephew. Being new to crocheting, I wasn't really sure how much yarn I should get, so I started with one roll. {I could always come back and get more, right?} Wrong! Half way through the scarf, I ran out of yarn, so I returned to the store for more yarn. I bought two rolls: one to complete the scarf, and the other for the hat. When I got home I realized that while on the label, they were the same color, the two rolls I had purchased must have come from different lots as the dye varied slightly, albeit noticeably. One of the newly purchased rolls was a perfect match to the half completed scarf, so I used that one to complete the other half. The off color yarn, I used for the hat. 
{Problem solved, right?} Wrong! 

Half way through the hat, guess what!? I ran out of yarn. Back to the store I went. This time I was a little concerned if I would be able to find a color similar to the roll I used for the hat, since it was an off color to begin with. So I brought the hat with me, so I could match it up as best as possible. To my dismay, the color was completely sold out! There wasn't an on or off color to be found. So I chose a solid color to best match it. I plan to undo some of the hat and re-crochet introducing the solid color early on so it doesn't look like a last minute "I ran out of yarn" switch. Lesson learned for the next time.


Did you know:
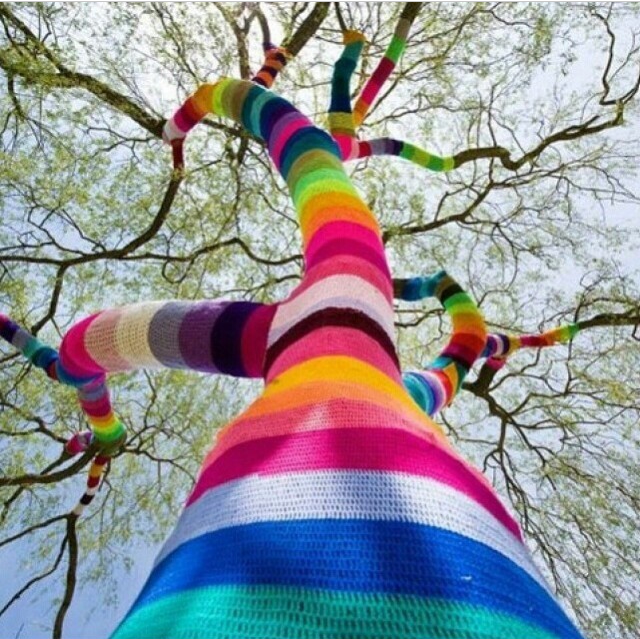
yarn bombing, crochet
Photo Source
  • Before hooks, people used their fingers to crochet? Considering crocheting is basically the knotting of loops, this doesn't seem like it would be too difficult to accomplish. Although, I imagine a career crocheter would have a serious case of carpal tunnel. 
  • There is a worldwide graffiti knitting movement known as yarn bombing. Wikipedia credits Magda Sayeg of Houston, Texas as the founder of the spreading movement in which public spaces, fixtures and items are partially or entirely fitted with a knitted or crocheted cozy. An Instagram search for #yarnbombing yields over forty variations of hashtags, the largest with over twenty thousand posts! 

Monday, September 22, 2014

ezpz diy: coasters {again}

Remember these coasters? I enjoyed making them so much, I decided to make them to give as a gift. This time I used paint chips. I used this as an opportunity to play with my scrap booking materials as well. I tied the coasters together with some ribbon I scored for cheap last year at Target on post-Christmas clearance. I used a Trader Joe's paper grocery bag for wrapping paper, and accented with ink stamps. I love how they turned out. Have a look!


 easy peasy

Monday, May 5, 2014

in search of: jar projects


I've been collecting jars because I can't stomach tossing a perfectly good container into the trash. When I say collecting, I don't mean I'm out there picking through the trash in search of jars- just that I keep every jar that we buy. Between all of the salsa and tahini we buy, my collection is becoming rather large. I wish there were a way I could just take the jars that I have for a refill of their contents instead of buying new jars every time. Oh the good ol' days.

Poor jar...one coat of paint
and zero direction.
 I need to repurpose or find a craft project that could put these jars to use. I've been combing Pinterest, but I haven't been struck with much inspiration there. I just don't know what to do with them all as I personally don't have any use for them all. I need to figure something out soon though because I'm outgrowing my storage box and my husband's tolerance for the pack rat behavior.  


Have any good suggestions or ideas? Share them in the comments. 


Sunday, November 24, 2013

ezpz diy: repurposed stool

I needed a nightstand on my side of the bed. I don't have much space on my side due to the swing of the closet door. So I came up with the idea to repurpose a stool as a bedside end table.
I got this stool at Kmart. It's priced at for $24.99, but I may have gotten it on sale for $15.

A little spray paint and polycrylic.


Easy peasy!

Saturday, October 26, 2013

ezpz diy: coasters

You'll soon discover I have a Pinterest obsession. Pinterest is a godsend to a wannabe DIY-er like myself. Truth be told as far as DIY goes, I'm the kind of crafty that knows my way around a glue gun but I'm not really handy with tools. I've owned and used one multi-pronged tool since freshman year of college!

We recently moved, and are in the process of furnishing our new home from scratch. This gives me the opportunity to try my hand at some of my pins and showcase some easy peasy do it yourself projects here. First up: coasters.

I came across these paint chip coasters and fell in love. I began swiping paint samples from Walmart and Home Depot with no real timeline in sight (we don't even have a table...but that's for another post). Then on a trip to Hobo one day, I ended up in the tile aisle, so I figured "why not now?" I bought 4 4"x4" tiles for 10¢ each. By the time I got home, some random train of thought led me to use the congratulatory cards that we received when we  got married instead of paint chips. It's a really neat way to hang on to those sentimental tidbits without feeling like a pack rat. Here's how they turned out.


 Cheers!

Thursday, October 17, 2013

ezpz diy: royal rehab


My husband salvaged this framed plaster cast couple from a back room of his mother's house. 


He brought them home for some tlc. I knew just what to do with them. I've been wanting to try ModPodge on fabric. This presented the perfect opportunity to do so.
We had some fabric on hand perfect for the project.
I touched up the paint job and added  gold accenting throughout the crown and collar. And here goes. They turned out okay.


There was some wrinkling in the fabric and you can see the brush strokes in the ModPodge. But they look beautiful hung on the wall and I wouldn't notice the flaws if I didn't know they were there.
Queen Before
Queen After
Easy peasy!

Saturday, October 12, 2013

hi there

Hi readers, thanks for joining me! Let's skip the lengthy introduction and keep this first post short and sweet. Pretty much anything I should be telling you here, you'll learn as you stick around with me. So I hope you enjoy the good and bad, ugly and beautiful, messy and clean, wins and fails, fun and not so fun times ahead.