Hey there! Still here? Sorry for the long hiatus, I don't have much of an excuse other than I didn't really feel like writing. The long truth is, my laptop is hanging on to life and power by a thread, so I don't move it from my desk. My desk sits near a window, and it's been pretty cold here in Wisconsin. So I just didn't feel like sitting at my drafty desk to type. But know that I think of blogging on the daily. {I even started a draft on my tablet... tablet posting isn't my thing.} Now that's it's warmed up {for now} here I am!
Anywho, I want to talk about Maki for a bit. He's this awesome little being who takes up all of my time and yet, I get so caught up in the home-y posts, that I neglect to talk about my original inspiration for starting this blog. So, I'll probably be a little bit all over in this post, but bear with me.
Staying home with Maki is one of the best decisions I've ever made. I
can't imagine not being able to experience all of the awesomeness that
he is growing into every second of every day. He is twenty-two months old now. Did I mention he's awesome?
He's so smart, and expressive. I don't really have a word count, but he
can say a lot of words and express his own ideas and wants. He wakes up every morning with a big smile on his face. I
never know what his first word of the day will be. It might be
"morning," in response to my "good morning" or "tov" in response to
Papa's "boker tov." Or it could be a lingering thought crashing in from
the dream he was just having: "Phant!" {elephant}, "Side!" {outside}, "Cup!"
Or it could be a demanding directive to get the day on its way: "Potty!",
"Coffee", "Elmo!", "Toons!" {cartoons}. Either way, he never fails to bring a
smile to my face first thing in the morning.
Maki is a sweet but cunning little guy who has already mastered the art of using kisses and hugs as bribery ammo. A few days
ago, he told me I'm his "favorite mama". He has a running "joke" where
he calls for me, and when I answer he says, "BANANA!" He does it to his
dad too. It's hilarious, because he does it at such random times it
catches us off guard.
He loves watching PBS Kids in the morning. I had all of these ideas about how little TV time my child would be allowed before I became a parent... and then I became a parent {and it's Wisconsin winter}. But really PBS isn't too bad. He loves Thomas the Train, Sesame Street, Curious George, Super Why and Daniel Tiger has recently made the cut. I enjoy watching the programming with him as it's very nostalgic for me. I grew up watching Sesame Street and Mr. Rogers' Neighborhood {which is why I can't really get down with Daniel Tiger}. He also enjoys watching the local news and Judge Judy. Blame Mama for those.
Maki is obsessed with all things vehicles. Cars, trucks, motorcycles, airplanes, trains, tractors. If it's got wheels, he's into it: toys, books, shows, you name it. He loves to point out fire trucks, school buses, city buses and the different types of construction trucks when we're out running errands. I'm so amazed at his deep interest in vehicles. It makes me wonder if he'll keep and grow this interest into a passion later on in life. {cough! engineer? cough!}
Maki also enjoys reading {even books about things other than cars}. Of course he loves being read to. But recently I've discovered him babbling into books by himself. I was super excited to witness this as it puts us one step further on the path of developing a little book worm.
He's at that Independent stage that toddlers go through. It's charming and annoying all at the same time. Sometimes Mommy just wants to get something done and over with, but Maki insists on doing it himself. He gives it a few tries, gets frustrated, refuses my help and then looks up with those pretty browns and says, "help me please!" Love him. But to his credit, he can do a lot of things by himself. He can feed himself; drink from a cup, thermos, and water bottle; he can go to the potty all by himself, he knows how to clean up his toys, re-shelve his books, and he's always Mommy's little helper during my own chores.
Along with the Independent stage comes the Defiant stage. He's made "no" one of his favorite words. Seriously, I'm so tired of begging this little boy to do the simplest things. But it's like he gets a kick out of the fact that "no" actually means something. He's learned that he can essentially pick and choose what he will and won't comply with. Ugh. Why couldn't he learn "yes" first?!
Anyways, there's about Maki. I'll be back soon.
Tuesday, March 17, 2015
Friday, November 21, 2014
ezpz diy: incense holder
We love to light incense in my house. Incense is more than an air
freshener; it brings an entire aura to the home. Whether it be cleaning,
cooking, reading, writing, meditating or just hanging out, burning
incense helps me to set my intention and focus on the task at hand.

We were using empty jars to store our incense. I decided these naked jars could use some beautifying. Plus tackling this project allowed me toplay with use some of the crafting supplies that I've been amassing and practice some crafting techniques that I might be able to use to make gifts for the upcoming holiday season.
For the first jar, I decided to cover it with scrapbook paper. This was simple enough as I'm pretty familiar with the technique from the coaster projects that I've done {here and here}.
First I cleaned the jar. {You can read about that here.}
Next I measured and cut scrapbook paper to fit around the jar. I didn't want to go all the way up to the grooves because I didn't feel like dealing with wrinkles and bubbling as the jar indents. So I kept it simple and measured in order to wrap the flat part in between where the jar curves {I hope that's not too confusing. But the pictures should make sense.}


Next I applied a coat of Mod Podge to the back of the scrapbook paper and to the jar itself.

 You need to move quickly here as you don't want the Mod Podge to start drying and prevent you from getting perfect adhesion. You have about three seconds {don't quote me} to ever so gently readjust your paper if it's slightly off. You want the edges to line up just right. I cut my paper to have about a 1/16th of an inch overlay because I was too nervous about having a gap if it didn't line up right.{The scrapbook paper I used is fairly thin. I wouldn't recommend overlapping thicker paper.}
Be sure to quickly smooth and straighten out any wrinkles or bubbles. And then allow the application to dry for about fifteen minutes.

 When I felt it was dry enough, I applied a coat of Mod Podge over the scrapbook paper. I used a bristle brush instead of a foam brush {which most people use to apply Mod Podge} because I actually wanted to enhance the brush strokes. I wanted the brush strokes to give the project texture, plus I figured the vertical lines throughout would be a great camouflage for the seam where the paper meets itself.
 I allowed this to dry for a few hours while I took care of some stuff around the house and then applied a coat of Polycrylic to seal the project. You will see different recommendations for the amount of coats of Mod Podge or sealer you should use depending on the project. For this project, I figured one coat of each was sufficient enough for how I planned to use the jar.
 After the jar set overnight, it was time for the finishing touches. I knew I wanted to use a ribbon as an adornment, but I had to be careful not to make it clash with the existing decor and I also had to consider my husband's taste. I tried to go for some more muted colors, but they just didn't do it for me. I loved a hot pink against the black and white, but I knew that was pushing it. So I opted for a bright green that gave me the same vibrance of the pink and I can reason into decor and green is my husband's favorite color. {And if it turns out
 terrible not to my liking, I can always gift it.} I simply attached the ribbon using my hot glue gun.


And here's the finished product.

 Easy peasy.
I am currently working on finishing up the other incense holders. Check back soon to see how they turn out!
We were using empty jars to store our incense. I decided these naked jars could use some beautifying. Plus tackling this project allowed me to
For the first jar, I decided to cover it with scrapbook paper. This was simple enough as I'm pretty familiar with the technique from the coaster projects that I've done {here and here}.
First I cleaned the jar. {You can read about that here.}
Next I measured and cut scrapbook paper to fit around the jar. I didn't want to go all the way up to the grooves because I didn't feel like dealing with wrinkles and bubbling as the jar indents. So I kept it simple and measured in order to wrap the flat part in between where the jar curves {I hope that's not too confusing. But the pictures should make sense.}
Next I applied a coat of Mod Podge to the back of the scrapbook paper and to the jar itself.
Be sure to quickly smooth and straighten out any wrinkles or bubbles. And then allow the application to dry for about fifteen minutes.
 |
| Mod Podge goes on white, but dries clear. |
And here's the finished product.
I am currently working on finishing up the other incense holders. Check back soon to see how they turn out!
Wednesday, November 19, 2014
ezpz diy: how to remove labels and sticky residue from salvaged jars
Remember back when I was searching for projects using jars... well here's one that I got around to doing. My jar collection was getting ridiculous and I knew it was time to either do something with them or put them out for recycling. With the holidays coming up, I figured homemade gifts can be a good way to
The first thing I had to do was remove all of the labels and sticky residue from the jars. For this, I decided to put a popular Pinterest method to the test. There are thousands of pins out there touting the efficiency of baking soda and olive oil as a simple fix for the begrudged sticky residue. Does it work? Here's my experience:

First I submerged the jars in hot soapy water for about five minutes. {If your jar still has a label intact it might take much longer, but I soak and peel my labels as soon as the jar is empty. However, I don't always get them completely clean.}
Next, I rubbed a mixture of equal parts olive oil and baking soda on each jar. {I used a tablespoon of each. And just scooped some out with my finger tips and rubbed it on the jars.}
I let the jars sit for about ten minutes and then simply rubbed them clean in the soapy water using my hand.
Easy peasy.
There was one jar, that still had remnants of the label on it when I began. For that one, I actually treated it twice. The first treatment lifted the label and the second one lifted the glue. I probably could have used more elbow grease with just one treatment to get the glue off, but doing it twice was way easier.


My next post will feature a completed jar. Here's a sneak peek:

Wednesday, November 12, 2014
creating early readers
I've always loved to read. I think it's due to a mixture of personality and teacher and parent encouragement. In school after finishing an assignment early, our teachers encouraged us to read independently at our desk until it was time to reconvene. I remember enjoying sitting at the back of the class because I was within arm's reach of the classroom library. At home sharing a bedroom with my older sister, my mother clipped a desk lamp onto the headboard of my lower bunk so that I could continue reading well past bedtime without disturbing my sister. Oh and for all of my life my mother has worked as a college librarian. Growing up I would spend "sick days" playing amongst the seemingly endless shelves of the college library. Not to mention at home we had a six foot tall bookshelf plus a number of milk crates filled with encyclopedias, old textbooks and school readers, library discards, and fiction and non-fiction books to suit all ages. There was no shortage of books in my young world, and I made fast friends of them all.
Given my love for books, it is important to me that my son develop a love for reading as well. It breaks my heart to hear young kids say, "I don't like reading" or worse an adult who proudly proclaims, "I don't read." {Whhaaaa!} So it is my duty as a parent to instill in Maki a love for reading. I want to share a few steps that I have taken to introduce and encourage early reading.
Read everyday
The American Academy of Pediatrics recommends reading daily to children from birth. Even if it's half a book in between Lego building or five stolen minutes before meal time, make time for books. Reading everyday introduces your child to concepts that may be difficult to teach in the real world {unless you're a super human continent hopper}. Daily reading builds vocabulary and teaches your child how to handle and treat books. Not to mention, early reading sets your child up for success in school and later in life.
Build a home library
Invest in books. Building a library can seem like a costly venture but it doesn't have to be. There are many free and low cost ways to acquire books for your child's library. Request that family members buy your child books as gifts instead of toys. Shop yard and rummage sales, second hand book stores, thrift stores, and check with your local library for their policy or program on discards {perfectly readable books that have been removed from the library's collection}.

 |
| Creating a reading nook can be as simple as a floor mat and a few pillows! |
Be sure that your little one's library is accessible to them. Store the books within reach. You want your child to have access to the books at any time. We started with a small space on the bottom shelf of our bookcase {where space is already at a premium}. Once Maki's collection outgrew the allotment we moved his books to a low cubby underneath the printer {which is also quickly nearing capacity}. No matter your storage solution, keep it low and accessible for your child.
If you're concerned about damage, I suggest starting with board books and slowly graduate to paper books {keep a lot of tape on hand for the book infirmary}. Of course keep any books that you couldn't stomach getting ruined higher out of reach {but don't forget to include them in story time}.
Visit the public library
Visit the public library
Your library may not have a discard program, but it's still a great place to visit. The obvious reason here is a plethora of books from which to choose. You can try out different genres/interests with your child before spending hard earned money on something they'd hate. Plus many libraries offer reading programs for young children with incentives to make the reading fun even more fun! Check out your local library to see what they have to offer. You might be surprised.
Be a model reader
Naturally small children want to emulate parents. So model the behavior you want them to adopt. If they see you read, they're more likely to want to read themselves. Even if you don't consider yourself much of a reader, consider becoming a reader for your child's sake. Find a book that interests you, and commit to a page a day, or five to ten minutes a day. You might soon discover that you enjoy reading for pleasure.
Read more about the benefits of early reading.
Do you have any tips to help create early readers?
What does story time look like in your home?
Thursday, October 30, 2014
ello guvnah... {and president}
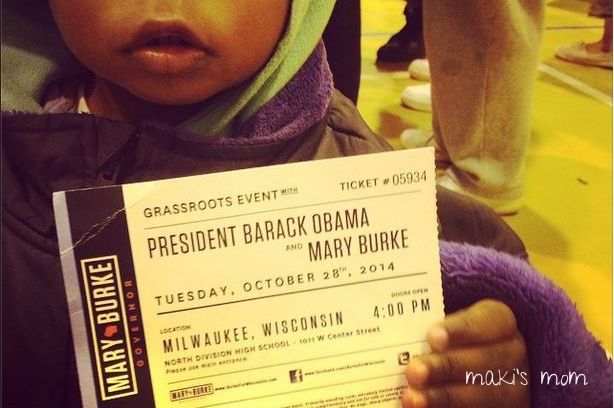
This past Tuesday Maki and I had the awesome opportunity to hear President Obama speak! The President visited Milwaukee to campaign for gubernatorial hopeful, Mary Burke. {Of course she spoke too.
I was a little apprehensive about the entire experience from the onset. First off, I hate lines and I hate crowds. I was nervous about how he would take to so much happening around him. Well I shouldn't have been nervous at all. My little guy is a trooper. We waited two and half hours in dropping temperatures and spent another two hours inside the event. Maki behaved better than I ever could have expected.
The weather has been pretty moody in Milwaukee the past few weeks. Fall is trying to hang on while Winter seems to be gaining turf. Tuesday was a warm Autumn day, riding the unseasonably high temps from Monday but as the sun dipped off into the cityscape it took all traces of warmth with it. Luckily for us, I had decided I would wear Maki during the event. I don't babywear
It was the perfect decision. The body heat kept both Maki and me warm as we waited in line. Maki being so close to me, kept him calm and gave him refuge from squealing admirers. And I did not have to deal with trying to chase, arm-carry, or keep up with a toddler. I was even able to breastfeed him in line and at the event without anyone even noticing.
Though, I must say that those hours of toddler wearing definitely took a toll on my body. By the end of the night, my legs were all wobbly and my biceps were super tight. When I laid down to sleep I could already feel my legs stiffening. The next day I woke up feeling like I had done an extreme total body workout--which I guess technically I did. Even my abs were sore.
Long lines, cold weather, achy body aside--I'm really glad I took Maki to see the President speak. I'm not really one to get star struck. And when faced with the aforementioned conditions, if making a decision for myself, I'd rather stay at home in my warm bed crocheting and watching Damages {my current Netflix binge}. I can catch the sound bites on the ten o' clock news. But this was another time where I felt that this opportunity wasn't for me. It was for my son. I took pictures, captured videos and have the ticket stub as a memento so that when Maki is older, he can look back on these things and know that he saw the President of the United States in person {whether he remembers it or not}. Not many people can say that.
Did you know:
You can request a greeting card signed by the sitting President to celebrate your baby's birth.
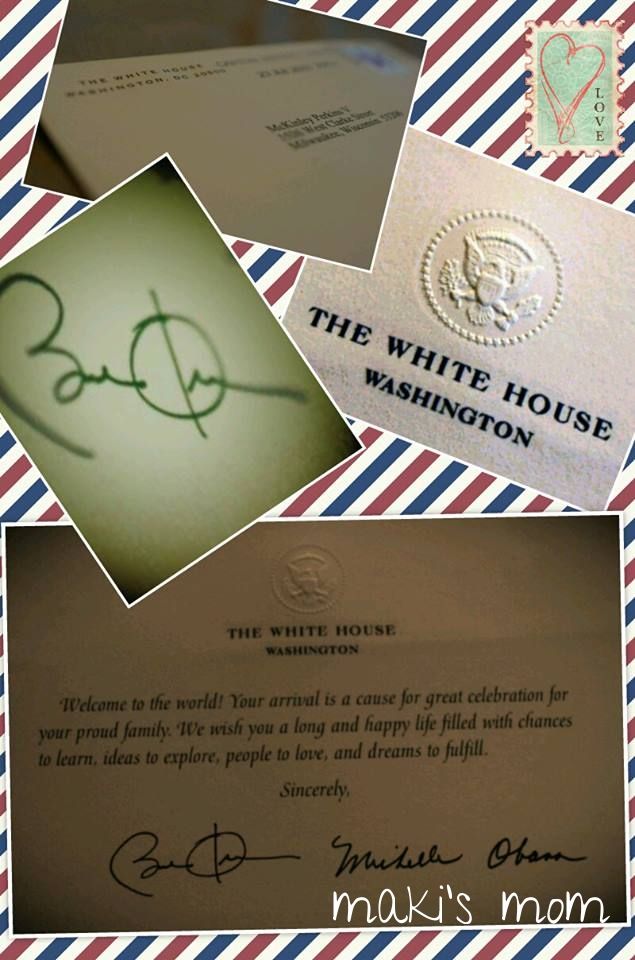 |
| Maki's Presidential greeting from The Obamas. |
P.S.- Tuesday was also Maki's half birthday! Happy 18 months, Maki!
Monday, October 6, 2014
crochet rocket

I've been teaching myself to crochet. {I have a hard time not reading the word crochet as crotch-it. Oh, the many idiosyncrasies of the English language.} I've wanted to learn how to crochet for a long time. I have always admired women {especially women my own age} who crochet. Looking at a finished piece was intimidating. I believed there was no way I could do
something so intricate. Or that it was too late for me to learn to
crochet. I seriously thought that. I don't know why I felt that way. I
think maybe because I saw my sister learn at such a young age I felt,
since I hadn't yet learned I would just never be one who crochets. I
know that that doesn't really make much sense, but I think often times
the things that prevent us from growing and trying new things never
really make sense.
Using YouTube videos and my jack of all trades sister's advice I have learned a few of the basic stitches: single crochet (sc), double crochet (dc), half double crochet (hdc), and treble or triple crochet (tr or trc). I've made a couple scarves and hats as well as a couple bows for a friend's pooch. The bows are incredibly easy and quick to make. They are so cute and can be used as jewelry, hair and wardrobe accessories, crafting projects and I'm sure much more. I'm lightly toying with the idea of making some for sale. But I'm not really ready for that, so maybe further down the line, it's something I might consider more seriously.
Check out a few of my completed projects:
 |
| My very first crochet project. |
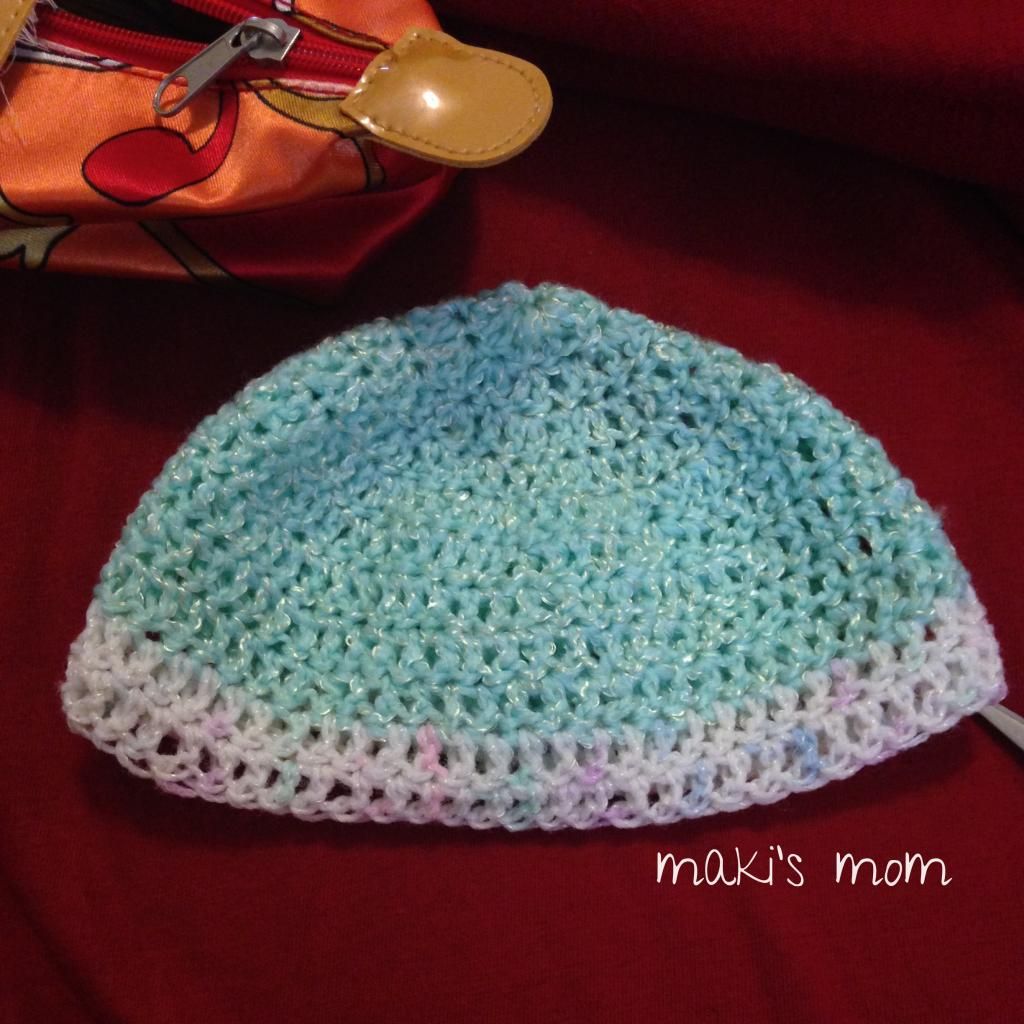 |
| A newborn hat for my expected niece/nephew. |
 |
| An |
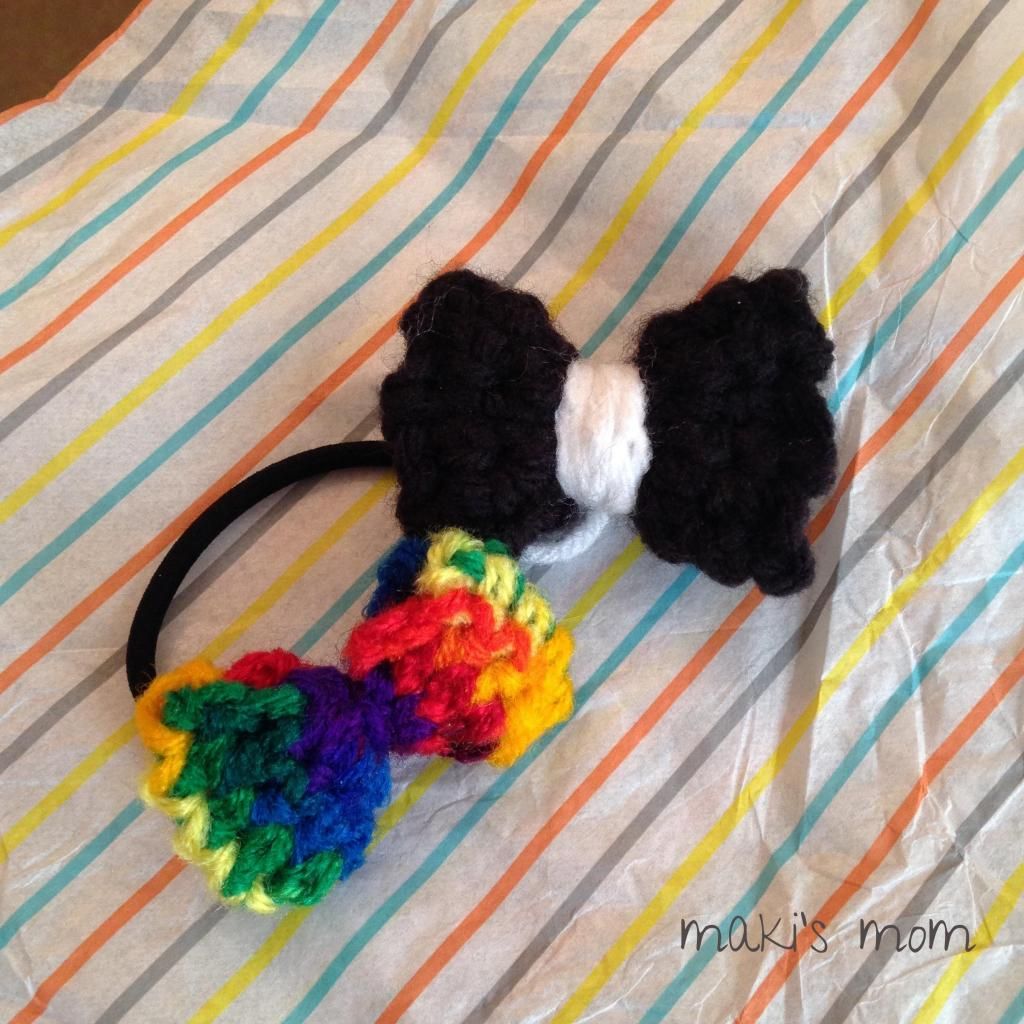 |
| My first attempt at crochet bows. |
Lessons learned
Buy enough yarn to complete your project all at the same time.
I picked up some yarn to make a hat and scarf set for my nephew. Being new to crocheting, I wasn't really sure how much yarn I should get, so I started with one roll. {I could always come back and get more, right?} Wrong! Half way through the scarf, I ran out of yarn, so I returned to the store for more yarn. I bought two rolls: one to complete the scarf, and the other for the hat. When I got home I realized that while on the label, they were the same color, the two rolls I had purchased must have come from different lots as the dye varied slightly, albeit noticeably. One of the newly purchased rolls was a perfect match to the half completed scarf, so I used that one to complete the other half. The off color yarn, I used for the hat.
{Problem solved, right?} Wrong!
Half way through the hat, guess what!? I ran out of yarn. Back to the store I went. This time I was a little concerned if I would be able to find a color similar to the roll I used for the hat, since it was an off color to begin with. So I brought the hat with me, so I could match it up as best as possible. To my dismay, the color was completely sold out! There wasn't an on or off color to be found. So I chose a solid color to best match it. I plan to undo some of the hat and re-crochet introducing the solid color early on so it doesn't look like a last minute "I ran out of yarn" switch. Lesson learned for the next time.
Did you know:
 |
| Photo Source |
- Before hooks, people used their fingers to crochet? Considering crocheting is basically the knotting of loops, this doesn't seem like it would be too difficult to accomplish. Although, I imagine a career crocheter would have a serious case of carpal tunnel.
- There is a worldwide graffiti knitting movement known as yarn bombing. Wikipedia credits Magda Sayeg of Houston, Texas as the founder of the spreading movement in which public spaces, fixtures and items are partially or entirely fitted with a knitted or crocheted cozy. An Instagram search for #yarnbombing yields over forty variations of hashtags, the largest with over twenty thousand posts!
Monday, September 22, 2014
ezpz diy: coasters {again}
Remember these coasters? I enjoyed making them so much, I decided to make them to give as a gift. This time I used paint chips. I used this as an opportunity to play with my scrap booking materials as well. I tied the coasters together with some ribbon I scored for cheap last year at Target on post-Christmas clearance. I used a Trader Joe's paper grocery bag for wrapping paper, and accented with ink stamps. I love how they turned out. Have a look!


 easy peasy


Subscribe to:
Posts (Atom)